
Quick answer
Document water damage before you move anything: wide shots of each affected room, close-ups of damaged materials, video narrating what happened and when, and photos of the source itself. Record serial numbers on damaged appliances, keep every receipt for emergency measures, and save moisture readings from the restoration crew. Documentation created before cleanup is worth far more than anything reconstructed afterwards. Call (888) 840-6512 to reach a certified water damage restoration company in your area; the line is answered 24/7.
Written by Marcus Reed
Reviewed by Elena VargasLicensed Public Adjuster (TX, FL, LA)
Reviewed June 20, 2026· Next review Dec 2026
How to Document Water Damage for an Insurance Claim: The Complete Photo and Video Guide
More insurance claims are disputed because of poor documentation than any other single factor. An adjuster who cannot see what the damage looked like at the moment of discovery has grounds to dispute every line item on your restoration estimate.
Documentation takes 15–30 minutes. It can determine thousands of dollars in claim outcome. Do it before you move a single item.
The Core Rule
Nothing gets moved, cleaned, or discarded until it's photographed and on video.
This is the single most important principle. An adjuster who sees a photo of a damaged item in-place has significantly less room to dispute it than an adjuster reviewing a list of items you say were damaged but can no longer see.
Step 1: Full Property Video Walk-Through
Before any stills, do a narrated video walk-through of the entire affected area. Narrate in real time:
- State the date and time at the start: "It's [date] at approximately [time]. I'm recording water damage at [address]."
- Walk through each affected room slowly
- Narrate what you see: "The kitchen has approximately 2 inches of standing water. The water appears to originate from the area under the sink where there's an active drip from what looks like a failed supply line connection."
- Show water depth by placing a ruler, tape measure, or familiar object in the water
- Record the water source clearly: the cracked pipe, the failed appliance connection, the ceiling breach
This video establishes your claim timeline and prevents disputes about when damage occurred.
Step 2: Photograph Every Room From Multiple Angles
For each affected room, capture:
Wide shot: From each corner of the room looking toward center — this shows full room context and coverage
Mid-range shots: Individual walls, flooring sections, ceiling areas showing damage
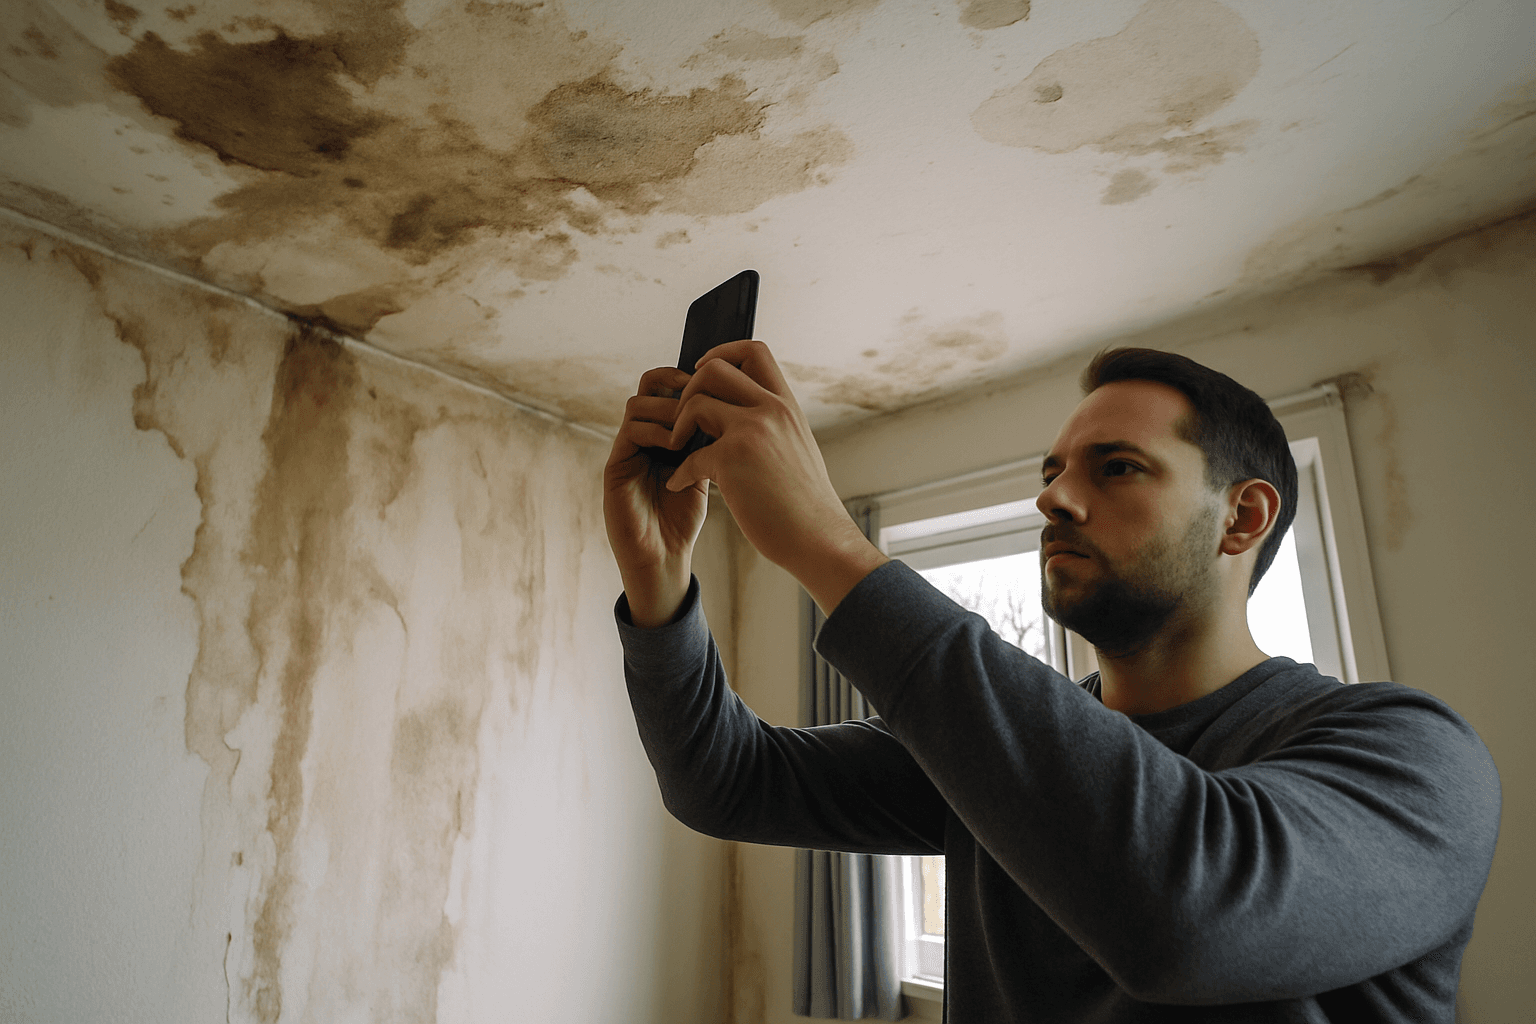
Close-ups: Specific damage points — water stain boundaries, saturated flooring, damaged drywall, affected appliances
The water source: Multiple angles, close-up showing the failure point clearly
Adjacent areas: Even if not visibly affected — this establishes what was and was not in the damage zone
Step 3: Photograph Every Individual Damaged Item
Every item of personal property that was damaged or destroyed needs its own photo:
- Full item in context (in-place, showing it was in the affected area)
- Close-up showing specific damage (warping, soaking, discoloration)
- Any serial numbers, model numbers, or brand identifiers visible
For furniture: photograph from all sides including underneath. Water damage to furniture often voids resale value even after drying — adjusters need to see the condition.
For electronics: photograph the serial number label and any visible water damage. Do not attempt to power on wet electronics.
For documents, photos, and irreplaceable items: photograph and immediately move to a safe location to prevent further damage. These may not be fully replaceable financially, but documentation supports the maximum claim.
Step 4: Photograph Pre-Existing Conditions
This step protects you from disputes.
Walk through any adjacent areas that show pre-existing wear — old water stains from previous events, cosmetic damage, worn flooring — and photograph them. This establishes that they were pre-existing, not caused by this event.
If your restoration company's scope includes these areas, you want documentation that clearly distinguishes between what this event damaged and what was already there.
Step 5: Document the Structure Before Any Demolition
Before your restoration company begins removing drywall, carpet, or other materials:
- Photograph every wall showing water lines (the visible water mark on drywall shows how high water reached)
- Photograph carpet from multiple angles before removal
- Photograph insulation before removal (often revealing moisture levels)
- Photograph all baseboard and trim
- Photograph any mechanical equipment (HVAC components, electrical panels, water heaters) that may have been affected
Once materials are removed, the evidence is gone.
Step 6: Keep Everything (Until Settled)
Do not dispose of any damaged items until:
- An adjuster has inspected them in person, OR
- You have written authorization from your insurer to dispose of items
Disposing of damaged items before adjuster inspection — even items that appear worthless — gives the insurer grounds to dispute whether those items were damaged or what condition they were in.
If items are a health hazard (sewage-saturated carpet, Category 3 materials), document thoroughly and photograph before disposal, and note the disposal in writing with photos of the disposal process.
Step 7: Photograph the Restoration Process Daily
Once work begins:
- Photograph equipment placement (air movers, dehumidifiers, air scrubbers)
- Photograph moisture readings being taken (your phone camera can capture the meter display with the probe in the material)
- Photograph demolition progress — opened walls revealing wet framing, removed flooring, etc.
- Photograph equipment rental tags showing equipment model and serial numbers
This daily documentation creates a chain of evidence showing the work that was done and when.
Organizing Your Documentation
Create a dedicated folder — phone album, cloud folder, or both — labeled with the date and event type. Within that folder:
- Subfolder: "Initial — [Date]" — everything from before work begins
- Subfolder: "Day [X]" — daily documentation
- Subfolder: "Contents inventory" — photos of every personal property item
- Subfolder: "Receipts and invoices" — all contractor invoices and receipts for temporary expenses
Your insurance claim file will need everything organized. Starting organization immediately makes the process significantly easier.
What Adjusters Look for in Documentation
Strong documentation that supports a full claim:
- Timestamped photos and video showing the source and extent at the time of discovery
- Clear causal connection between the event and each piece of damage claimed
- Before photos or evidence that items were in good condition before the event
- Documented that no time was wasted before calling restoration
Documentation gaps that invite dispute:
- Photos taken after cleanup has already started
- Missing photos of the water source
- Damaged items documented without showing they were in the affected area
- No photos showing water coverage in rooms where significant content damage is claimed
Need a contractor your insurer accepts?
Claims live or die on documentation. Crews that estimate in Xactimate and log moisture readings give adjusters what they need.
(888) 840-6512- Describe the loss and where the claim stands
- You're routed to a crew that documents for insurers
- They scope it in writing — you decide, no obligation
Reading to confirm what you already suspect?
Confirm it in two minutes instead — the pro on this line answers questions about YOUR situation all day: what it is, what it should cost, whether you even need service. If you want, they'll set the appointment on the same call.
Toll-free · no obligation · asking costs nothing
Frequently Asked Questions
- 1Video-record every affected room, narrating what you see -- water level marks, source of water, all damaged items
- 2Photograph close-ups of each damaged item with model/serial numbers visible
- 3Photograph structural damage: soaked walls, bubbling paint, warped floors, ceiling damage
- 4Screenshot your water meter reading. Never discard damaged items before the adjuster inspects. This documentation is your entire insurance claim -- treat it as evidence.
- 1Photograph all damaged materials before they are discarded -- if already discarded, photograph them in the dumpster or staging area
- 2Keep all discarded materials in one location for adjuster inspection
- 3Take moisture readings of remaining wet materials
- 4Get your restoration company's moisture mapping report, which documents the damage extent scientifically
- 5Photograph before-and-after for each area repaired. Late documentation is better than none.
- 1Date-stamped video walkthrough of every affected room before any cleanup — narrate what you see, when it happened, and the visible source
- 2The restoration company's daily moisture logs — calibrated meter readings at every monitoring point, every day
- 3Every written estimate (Xactimate printout preferred) from every contractor you contact
- 4Adjuster's written estimate and any denial or partial-payment explanations in writing
- 5All insurance correspondence (emails and letter copies with dates)
- 6Receipts for every expense — emergency extraction call, hotel nights under ALE, temporary storage, interim repairs
- 7Photos of every item you discard (before it goes in the dumpster) — especially flooring, furniture, and personal property
- 8The plumber's or restoration company's written cause-of-loss statement naming the specific failure
- 9Your policy declarations page and endorsements. Organize these chronologically in a folder (paper or digital). If the claim goes to appraisal or litigation, this file is the foundation of your case.
What should I document immediately after water damage for my insurance claim?
Before touching, moving, or cleaning anything:
How do I document water damage if I have already started cleanup?
If cleanup has begun, document what remains:
Do I need a contents inventory for my insurance claim?
YesFor personal property claims, insurers require an itemized inventory listing each item, its approximate value, age, and replacement cost.
For major losses, use your restoration company's contents documentation service or hire a public adjuster to create the inventory. Document: furniture, electronics, clothing, appliances, and any items with receipts. Insurance pays actual cash value (ACV) for contents unless you purchased replacement cost coverage. Create the inventory while items are still in place.
Should I make emergency repairs before my insurance adjuster arrives?
YesYour policy requires you to mitigate further damage, which means making emergency repairs (covering broken windows, stopping active leaks, extracting standing water).
Document before and after every emergency repair with photos and video. Keep all receipts. Emergency mitigation does not require prior adjuster approval. Do not, however, replace or reconstruct damaged materials until the adjuster has documented the original damage -- doing so may jeopardize your claim.
What documents should I keep together in a 'water damage claim file' from start to finish?
Build this file from the moment water enters your home:
Who do I call right now for water damage?
Call (888) 840-6512. The line is answered 24 hours a day, seven days a week, and connects you with an IICRC-certified water damage restoration company that serves your area. Describe what you can see — where the water is coming from, how long it has been there, and whether it smells — the more specific you are, the faster the right company is on the line.
If the source is a pipe or an appliance, shut the main water valve first. Have four things ready and the call goes quickly: the address, when the water started, what is wet now, and whether you have filed an insurance claim.
Still not sure which of these is your situation? (888) 840-6512 · toll-free · answered 24/7
Sources
- Insurance Information Institute(retrieved 2026-07-02)
- FEMA National Flood Insurance Program(retrieved 2026-07-02)
- NAIC Consumer Resources(retrieved 2026-07-02)
Methodology: How we source and verify data · Report an error
Disclaimer: HearthDry is an independent educational resource. This article is for informational purposes only and does not constitute professional, legal, or insurance advice. Consult licensed professionals before making decisions about your property or insurance claims.
Professional Equipment
A Moisture Meter Is the Best Documentation Tool You Own
Before-and-after moisture readings are the gold standard for proving damage extent and verifying drying completion. A pin-type or non-contact moisture meter gives you independent readings your adjuster cannot dispute.
Affiliate link — HearthDry earns a commission from Sylvane via CJ at no extra cost to you
Video
Video: FEMA / NFIP — US Federal Emergency Management Agency, public domain license
Watch: NFIP: A Flood Survivor's Insurance Story — 3 min 30 sec
Free 2-day shipping
Amazon Prime members pay no shipping on restoration equipment
Dehumidifiers, air movers, and moisture meters qualify for free Prime delivery — bulk items that otherwise cost $15–$40 to ship.
Affiliate link — HearthDry earns a bounty if you sign up; costs you nothing extra.
Equipment
What each machine actually does
Removes the moisture the structure is still giving off — the machine that decides how long drying takes
See the picks →Moves air across wet surfaces so the dehumidifier has something to take out of the air
See the picks →Finds water behind walls and under floors, and tells you when a material is actually dry
See the picks →Alerts you the moment a leak starts — the cheapest thing on this list and the only preventive one
See the picks →Those pages carry affiliate links. As an Amazon Associate, HearthDry earns from qualifying purchases; it costs you nothing extra.
Our Amazon storefront →Advertisement
