
Quick answer
Refrigerator ice maker lines fail quietly, which is why the damage is usually discovered as warped flooring or a musty smell rather than a puddle. Shut off the saddle valve behind the fridge, pull the unit out, and check the subfloor — not just the visible floor. Replace plastic supply tubing with braided stainless steel, and inspect the connection annually. Call (888) 840-6512 to reach a certified water damage restoration company in your area; the line is answered 24/7.
Written & reviewed by Marcus ReedIICRC WRT
Reviewed June 30, 2026· Next review Dec 2026
Refrigerator Water Line & Ice Maker Leak: What to Do Right Now
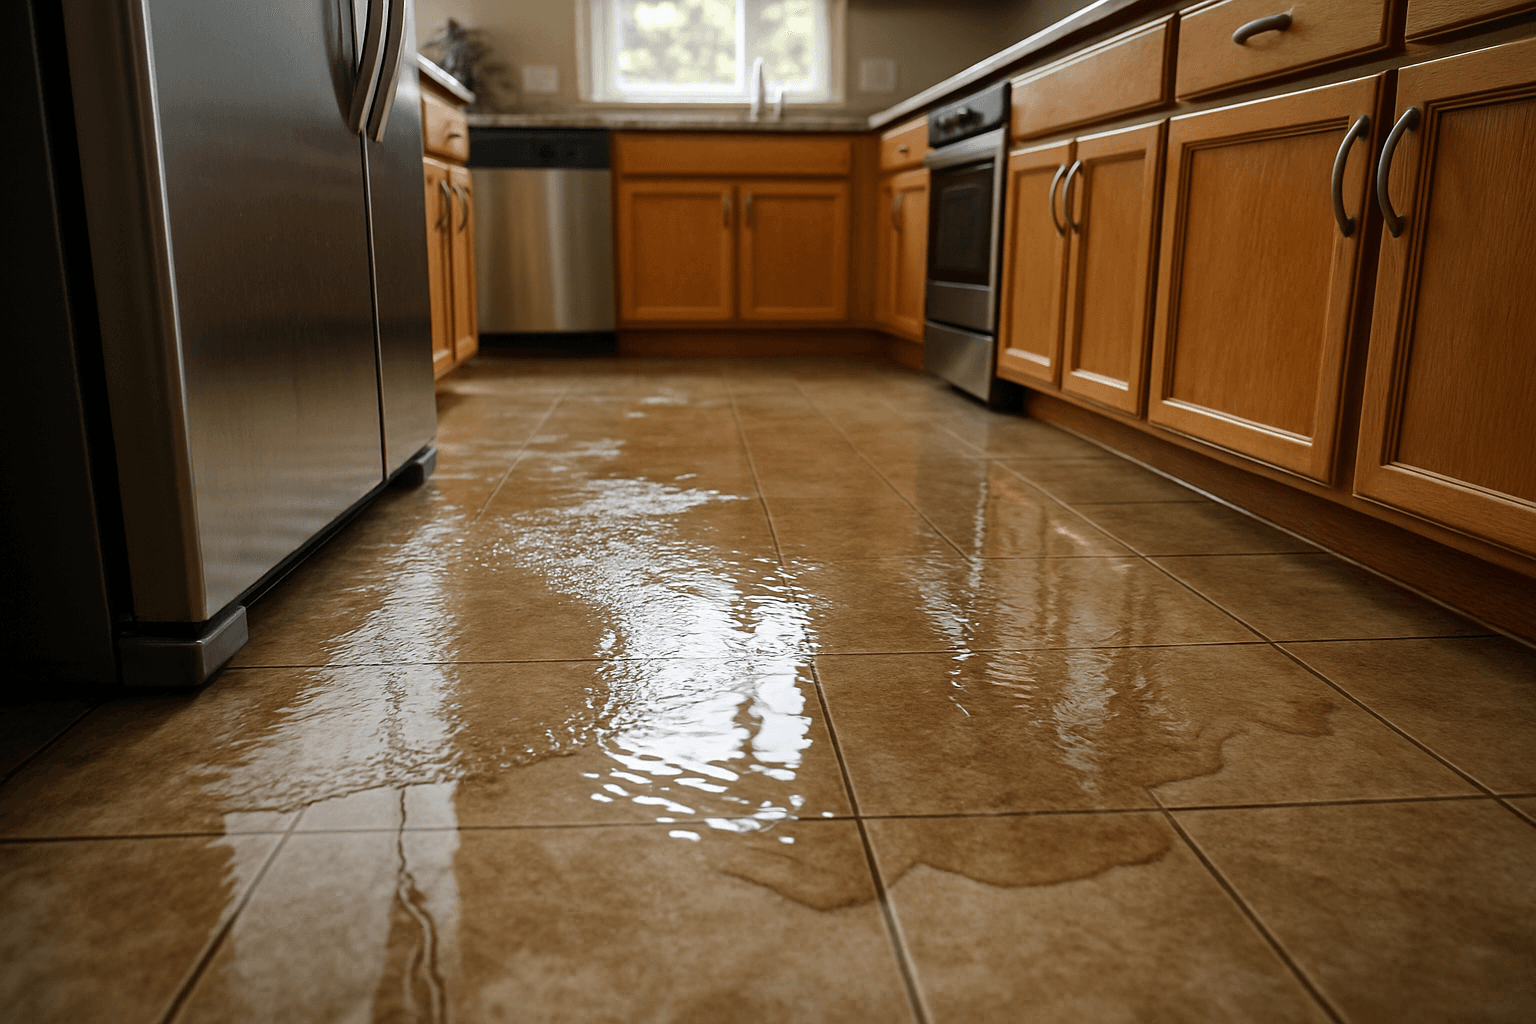
Refrigerator water line failures are among the most commonly missed household water emergencies. Because the supply line runs behind the fridge — and a slow leak may not appear on the floor for weeks — homeowners often discover damage only after the subfloor, cabinets, and baseboards are already saturated.
Why Refrigerator Leaks Are Especially Dangerous
Three factors make refrigerator water damage particularly costly:
- 1Hidden location: The supply line is behind the unit, not visible during normal use
- 2Slow start: Many failures begin as drips, not gushes — giving water time to migrate under flooring without triggering obvious water on the floor
- 3Cabinet damage: Adjacent cabinets wick moisture through toeboards directly into the cabinet base, causing mold and structural damage that isn't obvious until cabinets are removed
Step 1 — Pull the Fridge and Shut Off the Supply
Pull the refrigerator away from the wall. The shutoff valve for the water supply line is typically:
- Under the kitchen sink (in the adjacent base cabinet)
- Behind the refrigerator where the line connects to the wall
- In the basement or crawl space directly below the kitchen
Turn the valve clockwise until it stops. If no shutoff is accessible, shut off the main water supply to the house.
Step 2 — Unplug and Photograph Before Cleanup
Unplug the refrigerator before reaching behind to inspect the line. Then — before touching any water — take a complete video and photo walk-through: the connection point, the floor, inside adjacent base cabinets, baseboard contact areas, and any visible ceiling damage from below.
This documentation is required for your insurance claim. Date-stamped photos taken BEFORE cleanup are the foundation of your settlement.
Step 3 — Inspect for Hidden Moisture
Pull open adjacent base cabinet doors and check the floor of each cabinet — water travels along subfloor seams and enters cabinets through the toe kick (the wood panel at the bottom front). Press on the interior base of each cabinet. If it flexes or feels soft, the particleboard has absorbed water.
Use a professional moisture meter to check:
- Inside adjacent base cabinets (floor and back wall)
- Baseboards and wall base within 3 feet
- Floor surface directly around the fridge footprint
- Ceiling below if the kitchen is on a second floor
Step 4 — Extract Standing Water
Remove standing water with towels, mops, or a wet/dry vacuum. For more than a few gallons of standing water, call a water damage restoration company — professional extraction equipment removes far more water from subfloor materials than consumer tools.
Step 5 — Identify the Failure Point
Common refrigerator water line failure points:
Plastic supply line cracking: The most common failure. Plastic braided or unbraided lines become brittle over time (especially at bends) and crack. Plastic lines should be replaced with braided stainless steel lines.
Ice maker fitting loosening: The compression fitting connecting the supply line to the ice maker valve can loosen over time or after the fridge is moved. The drip is often internal — not visible externally until it's significant.
Water filter housing cracking: The filter housing under the fridge or inside the door can crack, especially if filters are forced in or overtightened.
Defrost drain clogging: If the defrost drain tube freezes or clogs, condensation backs up and can overflow inside the freezer, eventually leaking onto the floor.
What It Costs
| Damage Type | Typical Cost |
|---|---|
| Minor — floor only, small area | $800–$2,500 |
| Moderate — subfloor, adjacent cabinets | $2,500–$6,000 |
| Severe — subfloor replacement, lower ceiling | $5,000–$15,000 |
| With mold remediation | Add $2,000–$6,000 |
Does Insurance Cover It?
Standard HO-3 homeowners insurance does cover refrigerator water line failures — they qualify as "sudden and accidental" internal water damage. Key points:
- Document the failure point (take a photo of the cracked line or failed fitting)
- Call your insurer within 24–48 hours of discovery
- Save the failed supply line or fitting as evidence
- Do NOT let the adjuster classify this as "gradual" damage without disputing it — a line that fails suddenly is covered even if the water accumulated over time
What won't be covered: If there's evidence the leak was occurring for an extended period and you failed to address it (old water stains, prior damage), insurers may apply a "maintenance failure" exclusion. This is why periodic inspection behind the refrigerator is important.
Prevention
Replace plastic supply lines immediately. If your refrigerator has a white or clear plastic supply line, replace it now with a braided stainless steel line ($10–$20 at any hardware store). Plastic lines have a failure rate that increases dramatically after 5–7 years.
Pull and inspect annually. Once per year, pull the refrigerator out and visually inspect the supply line connection and the floor for any soft spots, staining, or moisture.
Install a water leak detector. A smart water leak detector placed directly behind the refrigerator will alert you to any drip before it becomes significant damage.
Check filter connections. When replacing water filters, never force the housing. Overtightening is the leading cause of filter housing cracks.
Talk to a water damage pro now
Answered 24/7 · Toll-free · answered 24/7 · no obligation
(888) 840-6512- Describe the damage & give your ZIP
- You're routed to the on-call local crew
- They quote — you decide, no obligation
Reading to confirm what you already suspect?
Confirm it in two minutes instead — the pro on this line answers questions about YOUR situation all day: what it is, what it should cost, whether you even need service. If you want, they'll set the appointment on the same call.
Toll-free · no obligation · asking costs nothing
Frequently Asked Questions
- 1the puncture method creates a stress point in the copper pipe that can crack over years of pressure cycling
- 2the needle valve corrodes and drips at the seam
- 3the rubber seal degrades. Prevention: replace any saddle valve with a proper tee fitting and ball valve during your next kitchen renovation or plumbing service call.
Does insurance cover refrigerator water line damage?
YesStandard HO-3 homeowners insurance covers refrigerator water line failures because they qualify as sudden and accidental internal water damage.
Document the failure point with photos, call your insurer within 24–48 hours, and save the failed supply line as evidence. The key risk is if the adjuster classifies it as gradual damage — dispute this if the line failed suddenly.
How do I know if my refrigerator is leaking under the floor?
Signs of hidden refrigerator leaks include soft spots on the kitchen floor near the fridge, discoloration or warping of adjacent baseboards, interior cabinet bases that flex when pressed, and musty odors.
Use a pin-type moisture meter to check inside adjacent base cabinets and the floor surface around the fridge footprint. Readings above 15% in wood indicate active moisture.
What type of refrigerator supply line is least likely to fail?
Braided stainless steel supply lines are far more durable than plastic (white or clear) lines. If your refrigerator has a plastic supply line, replace it now with a braided stainless steel line — available for $10–$20 at any hardware store.
Plastic lines become brittle over time and crack, especially at bends. Braided stainless lines are the same standard used for toilet and sink connections.
How much does refrigerator water damage restoration typically cost?
Minor damage affecting only the immediate floor area costs $800–$2,500. Moderate damage involving the subfloor and adjacent cabinets runs $2,500–$6,000.
Severe damage requiring subfloor replacement or affecting the floor below costs $5,000–$15,000. Mold remediation adds $2,000–$6,000 if moisture was present for more than 48–72 hours before discovery.
Why do refrigerator ice maker lines fail, and how do I prevent the most common failure?
The most common ice maker water line failure is the saddle valve — a small clamp-style valve installed on an existing copper pipe to tap a water supply for the ice maker. Saddle valves have a documented failure rate far higher than standard plumbing fittings because:
The upgrade costs $50–$150 in parts and labor vs. a potential $5,000–$15,000 water damage event if the valve fails overnight. Additional prevention: use a braided stainless water line (not plastic tubing) between the valve and refrigerator; plastic tubing kinks and splits. Install a leak detector with auto-shutoff under the refrigerator ($150–$300) — refrigerator leaks are typically slow and can run for weeks before becoming visible on the finished floor. Check behind the refrigerator quarterly when cleaning coils.
Who do I call right now for water damage?
Call (888) 840-6512. The line is answered 24 hours a day, seven days a week, and connects you with an IICRC-certified water damage restoration company that serves your area. Describe what you can see — where the water is coming from, how long it has been there, and whether it smells — the more specific you are, the faster the right company is on the line.
If the source is a pipe or an appliance, shut the main water valve first. Have four things ready and the call goes quickly: the address, when the water started, what is wet now, and whether you have filed an insurance claim.
Still not sure which of these is your situation? (888) 840-6512 · toll-free · answered 24/7
Sources
- IICRC S500 — Water Damage Restoration(retrieved 2026-07-02)
- EPA — Mold and Water Cleanup Guidance(retrieved 2026-07-02)
Methodology: How we source and verify data · Report an error
Disclaimer: HearthDry is an independent educational resource. This article is for informational purposes only and does not constitute professional, legal, or insurance advice. Consult licensed professionals before making decisions about your property or insurance claims.
Professional Equipment
Ice Maker Leaks Saturate Floors for Weeks Undetected
Slow refrigerator leaks go unnoticed under the appliance and behind kick plates. By the time you see water damage, the subfloor may already have elevated moisture levels. A smart leak detector under the fridge catches this before it starts.
Affiliate link — HearthDry earns a commission from Sylvane via CJ at no extra cost to you
Watch
Source: AMRE Supply — YouTube
Free 2-day shipping
Amazon Prime members pay no shipping on restoration equipment
Dehumidifiers, air movers, and moisture meters qualify for free Prime delivery — bulk items that otherwise cost $15–$40 to ship.
Affiliate link — HearthDry earns a bounty if you sign up; costs you nothing extra.
Equipment
What each machine actually does
Removes the moisture the structure is still giving off — the machine that decides how long drying takes
See the picks →Moves air across wet surfaces so the dehumidifier has something to take out of the air
See the picks →Finds water behind walls and under floors, and tells you when a material is actually dry
See the picks →Alerts you the moment a leak starts — the cheapest thing on this list and the only preventive one
See the picks →Those pages carry affiliate links. As an Amazon Associate, HearthDry earns from qualifying purchases; it costs you nothing extra.
Our Amazon storefront →Advertisement
