
Quick answer
Professional water damage restoration follows a fixed sequence: inspection and moisture mapping, water extraction, removal of unsalvageable materials, structural drying with air movers and dehumidifiers, daily moisture monitoring until dry standard is met, antimicrobial treatment where needed, and finally repairs. The drying phase typically runs three to five days; documentation is produced at each step for the insurance file. Call (888) 840-6512 to reach a certified water damage restoration company in your area; the line is answered 24/7.
Written & reviewed by Marcus ReedIICRC WRT
Reviewed June 22, 2026· Next review Dec 2026
Water Damage Restoration Process: What Happens Step by Step
Most homeowners are surprised by how methodical the professional restoration process is. It's not just "dry it out" — it's a documented, science-based sequence of steps that follows the IICRC S500 Standard and creates the paper trail your insurance claim requires.
Here's exactly what happens, in order, when a certified restoration company responds to water damage.
Step 1: Initial Assessment and Classification (Day 0 — First 30 Minutes)
Before any equipment is deployed, the lead technician performs a systematic assessment.
Water category determination:
- Category 1 (clean water): Supply lines, clean appliance overflow, rainwater
- Category 2 (gray water): Dishwasher, washing machine overflow, toilet bowl urine
- Category 3 (black water): Sewage, flood water, storm surge
Category determines contamination protocols, PPE requirements, and what materials can potentially be saved.
Damage class determination (IICRC S500):
- Class 1: Minimal absorption — water affects only part of a room, materials absorb little
- Class 2: Significant absorption — entire room affected, carpet and lower 24" of walls saturated
- Class 3: Most absorption — ceiling, walls, floors, insulation all wet; water may have come from above
- Class 4: Specialty drying situations — wet hardwood, plaster, concrete
Documentation: Photographs of all affected areas. The technician typically photographs every affected room before extraction begins — this is both for your insurance claim and for their own drying documentation.
Step 2: Moisture Mapping (Day 0 — First Hour)
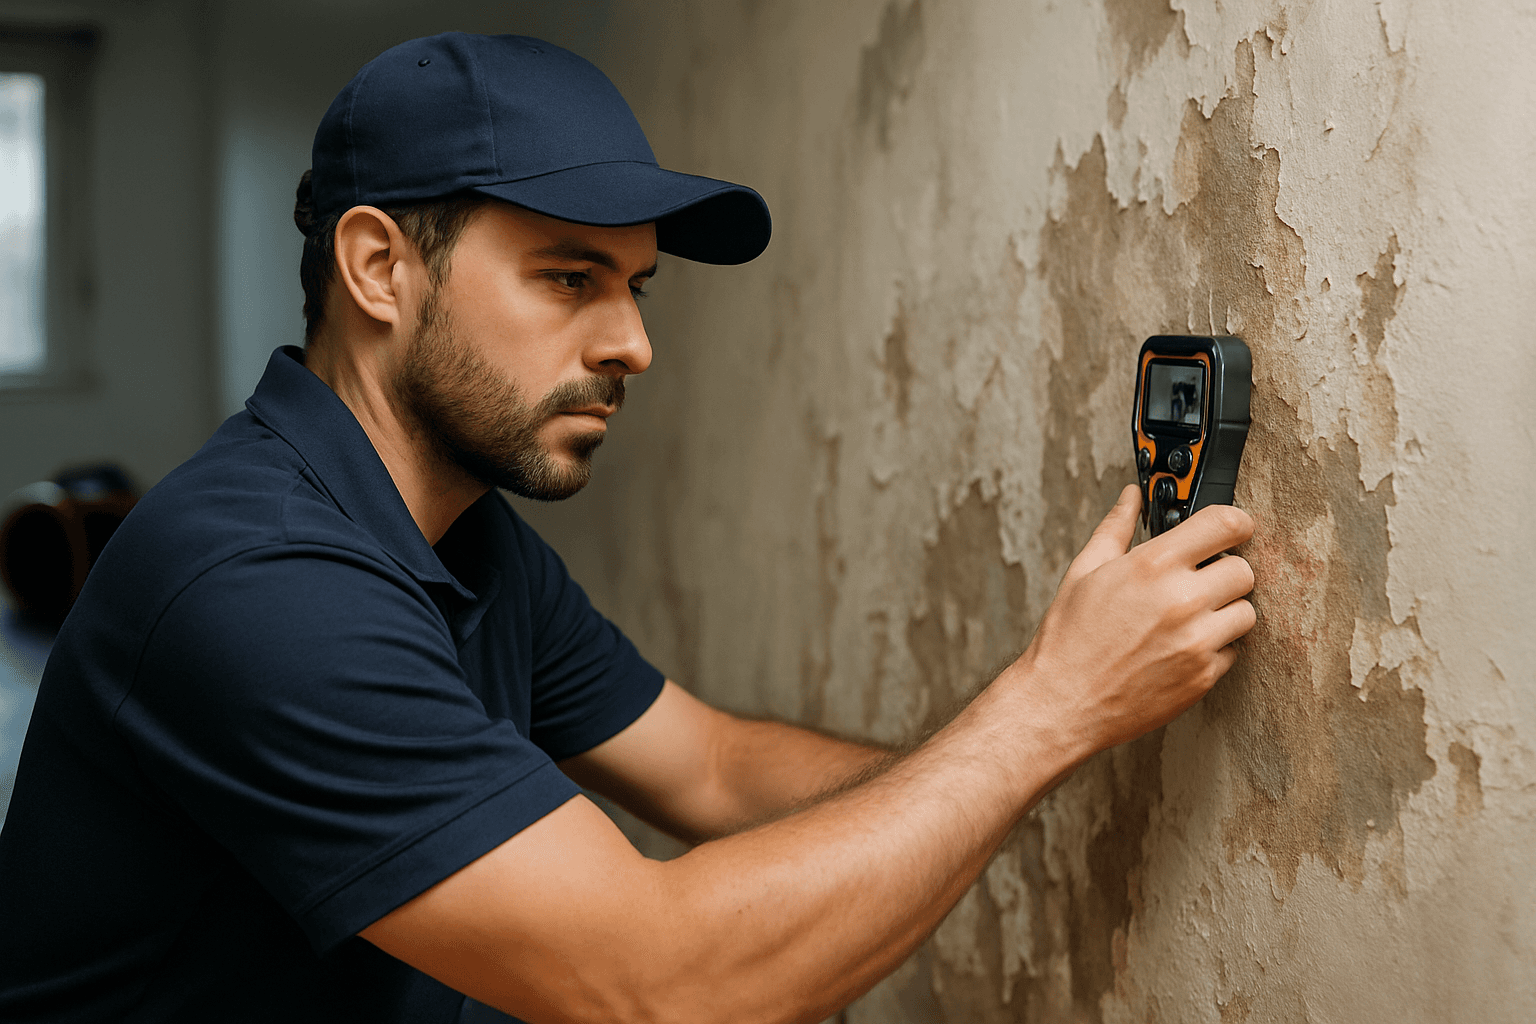
Using moisture meters and thermal imaging cameras, technicians create a moisture map of the affected area.
Instruments used:
- Pin-type moisture meter: Pins probe into drywall, wood, and other materials to measure moisture content (MC)
- Scanning moisture meter (non-invasive): Electromagnetic sensors detect moisture through surfaces without piercing
- Thermal imaging camera: Reveals temperature differentials that indicate wet areas behind walls, floors, and ceilings that look dry to the eye
What gets documented: Every location where a moisture reading is taken is logged — typically labeled A1, A2, B1, B2, etc. on a room diagram. Readings are noted: "Drywall at 24": 27% MC" or "Subfloor at wall junction: 34% MC."
This moisture map is the baseline for all subsequent monitoring and the proof that drying was completed to standard.
Step 3: Water Extraction (Day 0 — Hours 1–4)
Extraction removes bulk water before drying equipment can function effectively.
Equipment used:
- Truck-mounted extraction unit: Most powerful — 200–400 CFM vacuum, 100+ gallon recovery tank, mounted in the restoration van
- Portable extractors: For upper floors or spaces inaccessible to truck-mounted units
- Weighted extraction wands: Pressure compresses carpet to extract deep-seated moisture from carpet and pad
- Submersible pumps: For standing water over 2 inches in basements
Extraction targets:
- Hardwood floors: Special tools extract moisture with minimal additional moisture added
- Carpet and pad: Aggressive extraction to remove as much moisture as possible before drying begins — pad extraction is prioritized because wet pad beneath carpet dramatically increases drying time
- Concrete: Extraction removes standing water; residual moisture in concrete is addressed with drying equipment
Step 4: Material Evaluation and Controlled Demolition (Day 0–1)
During and after extraction, technicians evaluate which materials can be preserved and which must be removed. (See our guide on wet drywall and hardwood flooring for detailed decision criteria.)
Typical removals:
- Carpet pad (almost always): Pad cannot be dried effectively and must be removed
- Wet insulation (always): Insulation batts cannot be dried in place
- Drywall (Category 2/3, or over 72 hours): Removed to 2 feet above water line plus moisture meter guidance
- Hardwood flooring (Category 3, or cupped beyond recovery): Removed
Controlled demolition documentation: Before and after photos of every material removed. This matters for your insurance claim — it proves what was removed and why.
Step 5: Drying System Setup (Day 0–1)
After extraction and demolition, the drying system is configured based on the moisture map and psychrometric calculations.
Equipment deployed:
- Air movers (axial or centrifugal fans): Create high-velocity airflow across surfaces. Typically one per 50–100 sq ft of affected area, positioned at low angles
- LGR dehumidifiers: Low-grain refrigerant dehumidifiers remove 150–220 pints/day; maintain indoor RH below 40–50%
- Air scrubbers (HEPA): For Category 2/3 events — continuously filter airborne contaminants
- Desiccant dehumidifiers: Used in cold environments or alongside LGR units for enhanced performance
Placement strategy: Technicians calculate equipment counts using psychrometric data: temperature, RH, dew point, and cubic footage. Placement creates an airflow pattern that moves moisture-laden air from building materials to the dehumidifier's intake.
Step 6: Daily Monitoring and Drying Documentation (Days 1–5+)
A technician returns daily to:
- Record moisture readings at every monitoring point from the original moisture map
- Record temperature and RH readings in each affected space
- Adjust air mover positions to address slower-drying areas
- Check for mold indicators (odor, visual)
- Photograph current conditions
- Log all readings in daily drying logs
Drying logs create a complete record of the drying process: starting moisture readings, readings at each visit, equipment placed, and final dry readings. These logs are required by most insurance carriers as proof that work was performed and that drying was completed.
Step 7: Structural Drying Completion and Verification (Day 3–10)
Drying is declared complete when all monitored materials reach target moisture levels:
- Wood framing: Moisture content ≤ 19%
- Drywall: Moisture content ≤ 12–15%
- Concrete: Comparable reading to unaffected control areas
- Indoor RH: ≤ 55% in affected spaces
The technician performs a final moisture mapping survey — checking every location from the original baseline. All readings must be within acceptable range before equipment is removed.
Clearance certificate: The final documentation issued by the restoration company confirming drying standards have been met. This document matters for:
- Closing your insurance claim
- Protecting you from future disputes if mold appears
- Disclosure when selling the home
Step 8: Reconstruction
Once structural drying is complete, reconstruction begins. This is typically a separate contract from the restoration phase and may involve:
- Drywall replacement and finishing
- Flooring reinstallation
- Insulation replacement
- Painting
- Millwork (baseboard, trim) replacement
- Cabinet work if affected
Reconstruction scope is documented in a separate estimate, usually produced in Xactimate (the insurance industry standard). Your adjuster will review the reconstruction estimate separately from the restoration scope.
Your Rights Throughout the Process
- You have the right to choose your own contractor — insurance companies may recommend preferred vendors but cannot require you to use them
- You have the right to receive all documentation: moisture logs, daily records, clearance certificate
- You have the right to get a second opinion on scope — for reconstruction, get multiple quotes
- You have the right to dispute your insurance settlement via the appraisal clause in your policy if you disagree with the adjuster's scope
Talk to a water damage pro now
Answered 24/7 · Toll-free · answered 24/7 · no obligation
(888) 840-6512- Describe the damage & give your ZIP
- You're routed to the on-call local crew
- They quote — you decide, no obligation
Reading to confirm what you already suspect?
Confirm it in two minutes instead — the pro on this line answers questions about YOUR situation all day: what it is, what it should cost, whether you even need service. If you want, they'll set the appointment on the same call.
Toll-free · no obligation · asking costs nothing
Frequently Asked Questions
- 1Emergency response and inspection -- moisture mapping with meters and thermal imaging
- 2Water extraction -- truck-mounted extractors remove standing water
- 3Selective demolition -- saturated drywall, insulation, and flooring are removed
- 4Structural drying -- industrial air movers and LGR dehumidifiers run 24/7
- 5Daily monitoring -- technicians return each day to check moisture readings and adjust equipment placement
- 6Antimicrobial treatment -- applied to structural members
- 7Clearance inspection -- final moisture readings confirm materials meet target levels
- 8Reconstruction.
- 1determine the scope of demolition needed
- 2place drying equipment optimally
- 3track drying progress across daily monitoring visits
- 4document for insurance that the drying process met IICRC standards.
- 1Initial walkthrough and moisture mapping (30–60 minutes) — technicians photograph and record moisture readings at every monitoring point using calibrated meters and thermal cameras, categorizing the water type and class of damage
- 2Scope agreement and work authorization — you receive and sign a written scope of work before any equipment is moved
- 3Water extraction (1–3 hours depending on volume) — truck-mounted or portable extraction units remove standing water at 50–500 gallons per minute
- 4Material removal if required — wet carpet, padding, and sections of drywall identified as non-salvageable are removed the first day to allow drying equipment to reach structural materials
- 5Equipment placement (1–2 hours) — commercial dehumidifiers and air movers are positioned based on the moisture map
- 6Daily monitoring schedule established — technicians will return every 24–48 hours to record moisture readings and adjust equipment. Typical first-day duration: 4–8 hours. You should have a complete written scope and initial moisture map before they leave.
What is the step-by-step process of professional water damage restoration?
Professional water damage restoration follows the IICRC S500 process:
How long does professional water damage restoration take?
The drying phase typically takes 3-5 days for Category 1 (clean water) damage and 5-10 days for Category 2-3. Structural drying cannot be rushed -- IICRC standards require materials to reach target moisture content, not just a time threshold.
Reconstruction (replacing drywall, flooring, baseboards) adds 1-3 weeks after drying is complete. Total timeline for a moderate residential water damage event: 2-4 weeks from incident to fully restored.
What is moisture mapping in water damage restoration?
Moisture mapping is the process of using handheld moisture meters and thermal imaging cameras to document the exact extent of water intrusion throughout the structure. Technicians mark readings on a floor plan diagram, creating a 'map' of affected areas and moisture levels. This map is used to:
When can a restoration company start work without insurance approval?
Restoration companies can and should start emergency work immediately -- your homeowners policy requires you to mitigate further damage. Emergency extraction and initial equipment placement do not require prior insurance approval.
The restoration company will document the damage simultaneously for your claim. Prior authorization is only required for reconstruction (drywall replacement, flooring). Never delay emergency extraction waiting for an adjuster -- water damage worsens by the hour.
What should I expect on the first day a restoration crew arrives at my home?
Day 1 of professional water damage restoration follows a structured sequence under IICRC S500:
Who do I call right now for water damage?
Call (888) 840-6512. The line is answered 24 hours a day, seven days a week, and connects you with an IICRC-certified water damage restoration company that serves your area. Describe what you can see — where the water is coming from, how long it has been there, and whether it smells — the more specific you are, the faster the right company is on the line.
If the source is a pipe or an appliance, shut the main water valve first. Have four things ready and the call goes quickly: the address, when the water started, what is wet now, and whether you have filed an insurance claim.
Still not sure which of these is your situation? (888) 840-6512 · toll-free · answered 24/7
Sources
- IICRC S500 — Water Damage Restoration(retrieved 2026-07-02)
- EPA — Mold and Water Cleanup Guidance(retrieved 2026-07-02)
Methodology: How we source and verify data · Report an error
Disclaimer: HearthDry is an independent educational resource. This article is for informational purposes only and does not constitute professional, legal, or insurance advice. Consult licensed professionals before making decisions about your property or insurance claims.
Professional Equipment
The Equipment That Powers Each Restoration Step
Extraction, structural drying, and dehumidification each require specific commercial-grade equipment. Sylvane carries the AlorAir, Dri-Eaz, and Santa Fe units that certified restoration teams deploy — available for homeowners and contractors.
Affiliate link — HearthDry earns a commission from Sylvane via CJ at no extra cost to you
Video
Video: City of Detroit — US municipal government, public domain license
Watch: Post-Flood Cleanup Crews in Action — 1 min
Free 2-day shipping
Amazon Prime members pay no shipping on restoration equipment
Dehumidifiers, air movers, and moisture meters qualify for free Prime delivery — bulk items that otherwise cost $15–$40 to ship.
Affiliate link — HearthDry earns a bounty if you sign up; costs you nothing extra.
Equipment
What each machine actually does
Removes the moisture the structure is still giving off — the machine that decides how long drying takes
See the picks →Moves air across wet surfaces so the dehumidifier has something to take out of the air
See the picks →Finds water behind walls and under floors, and tells you when a material is actually dry
See the picks →Alerts you the moment a leak starts — the cheapest thing on this list and the only preventive one
See the picks →Those pages carry affiliate links. As an Amazon Associate, HearthDry earns from qualifying purchases; it costs you nothing extra.
Our Amazon storefront →Advertisement
