
Ceiling Water Damage in Burlington, VT
Ceiling leak detection, drying, and restoration. IICRC-certified pros serving Burlington with 45-minute average emergency response.
Response
45 min
Cost range
$800+
Duration
3d
About Ceiling Water Damage in Burlington
Ceiling water damage from roof leaks, bathroom overflow, or upstairs pipe failures requires leak source identification, ceiling cavity drying, and restoration. Restoration teams use thermal imaging to find hidden moisture pockets and prevent secondary mold growth above the visible damage.
Burlington context: Burlington, Vermont faces water damage from its subarctic New England climate: spring flooding from Green Mountain snowmelt is the dominant risk — the 2011 and 2023 flooding events each caused over $100 million in damage along Vermont's river corridors. Tropical Storm Irene (2011) caused catastrophic flooding throughout Vermont's mountain communities, destroying bridges and cutting off dozens of towns. Vermont's winters deliver -20°F cold events multiple times per season, causing pipe bursts in exterior walls and in vacation homes left unheated. Ice dams form on virtually every improperly insulated Vermont roof. Vermont Department of Financial Regulation handles insurance claim disputes.
Get Burlington Ceiling Water Damage Help
Certified specialist calls within 15 minutes.
Quick answer
Ceiling water damage repair starts by finding the source above — plumbing, roof, or HVAC condensation — then drying the cavity and insulation before replacing the drywall. Typical cost is $800–$5,000 over about three days. A sagging or bulging ceiling is holding water and should be relieved with a small hole and a bucket rather than left to collapse. In Burlington, VT, local crews average a 45-minute response and area rates run $1,500–$8,500.
Not sure who to phone first? Who to call for water damage, in order.
What Ceiling Water Damage Involves
What causes it
- Roof leaks (missing shingles, damaged flashing)
- Bathroom overflow from upstairs unit
- Burst pipe above ceiling
- AC drip pan overflow
- Skylight seal failure
How the work is done
- 1Place buckets and protect flooring immediately. Set buckets under any dripping or bulging areas. If you see a visible ceiling blister, carefully puncture its lowest point to drain it in a controlled manner — a heavy ceiling bubble can drop 10–20 gallons without warning. Lay towels or plastic sheeting around the area to protect flooring and furniture from secondary water contact.
- 2Identify the most likely source from upstairs or the roof. Go upstairs (or into the attic) with a flashlight to look for the most probable leak sources above the stain location. If the ceiling is under a bathroom: check toilet base, shower pan, and supply lines. If under an HVAC unit or air handler: check the condensate drain pan and drain line. If under the roof: enter the attic and trace wet materials back toward the roof penetrations (plumbing vents, chimney, HVAC stacks). Water travels diagonally along rafters, so the entry point is rarely directly above the stain.
- 3Shut off the source if it is plumbing-related. If the leak originates from a toilet, supply line, or fixture above the ceiling, shut off that fixture's supply valve (under the sink, behind the toilet) or turn off the main supply if you cannot isolate it. If the source is roof-related or HVAC-related and cannot be stopped immediately, limit the active drip damage with your bucket collection while you arrange professional repair.
- 4Document all damage for insurance before touching the ceiling. Photograph the ceiling stain, any blisters, the floor below, and all damaged personal property. Then photograph upstairs to document the probable source. If you made a controlled puncture in a blister, photograph it before and after — this shows what you found and demonstrates that you took protective action. This photo record is your insurance documentation; do not patch or paint over staining before the adjuster sees it.
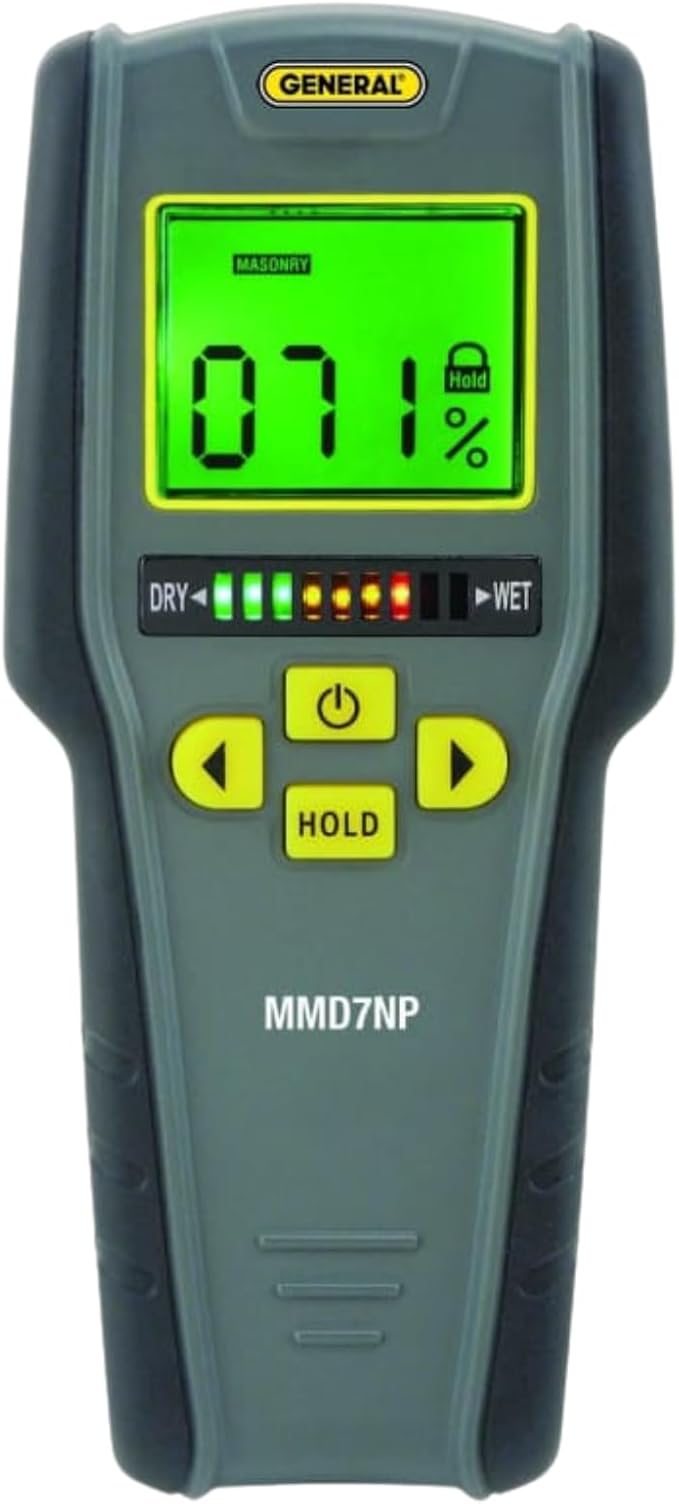
- 5Call a restoration company for moisture assessment within 24 hours. Even after the visible dripping stops, moisture trapped in the ceiling assembly (insulation, drywall paper, top plate wood) will support mold growth if not measured and dried. A certified restoration technician uses pin-type moisture meters and thermal cameras to assess the extent of hidden moisture and determine whether drill-and-inject drying, ceiling tile replacement, or drywall removal is required. Most insurers require this professional moisture documentation to process a ceiling water damage claim.
Work follows IICRC S500. Typical duration 3 days; national cost range $800–$5,000.
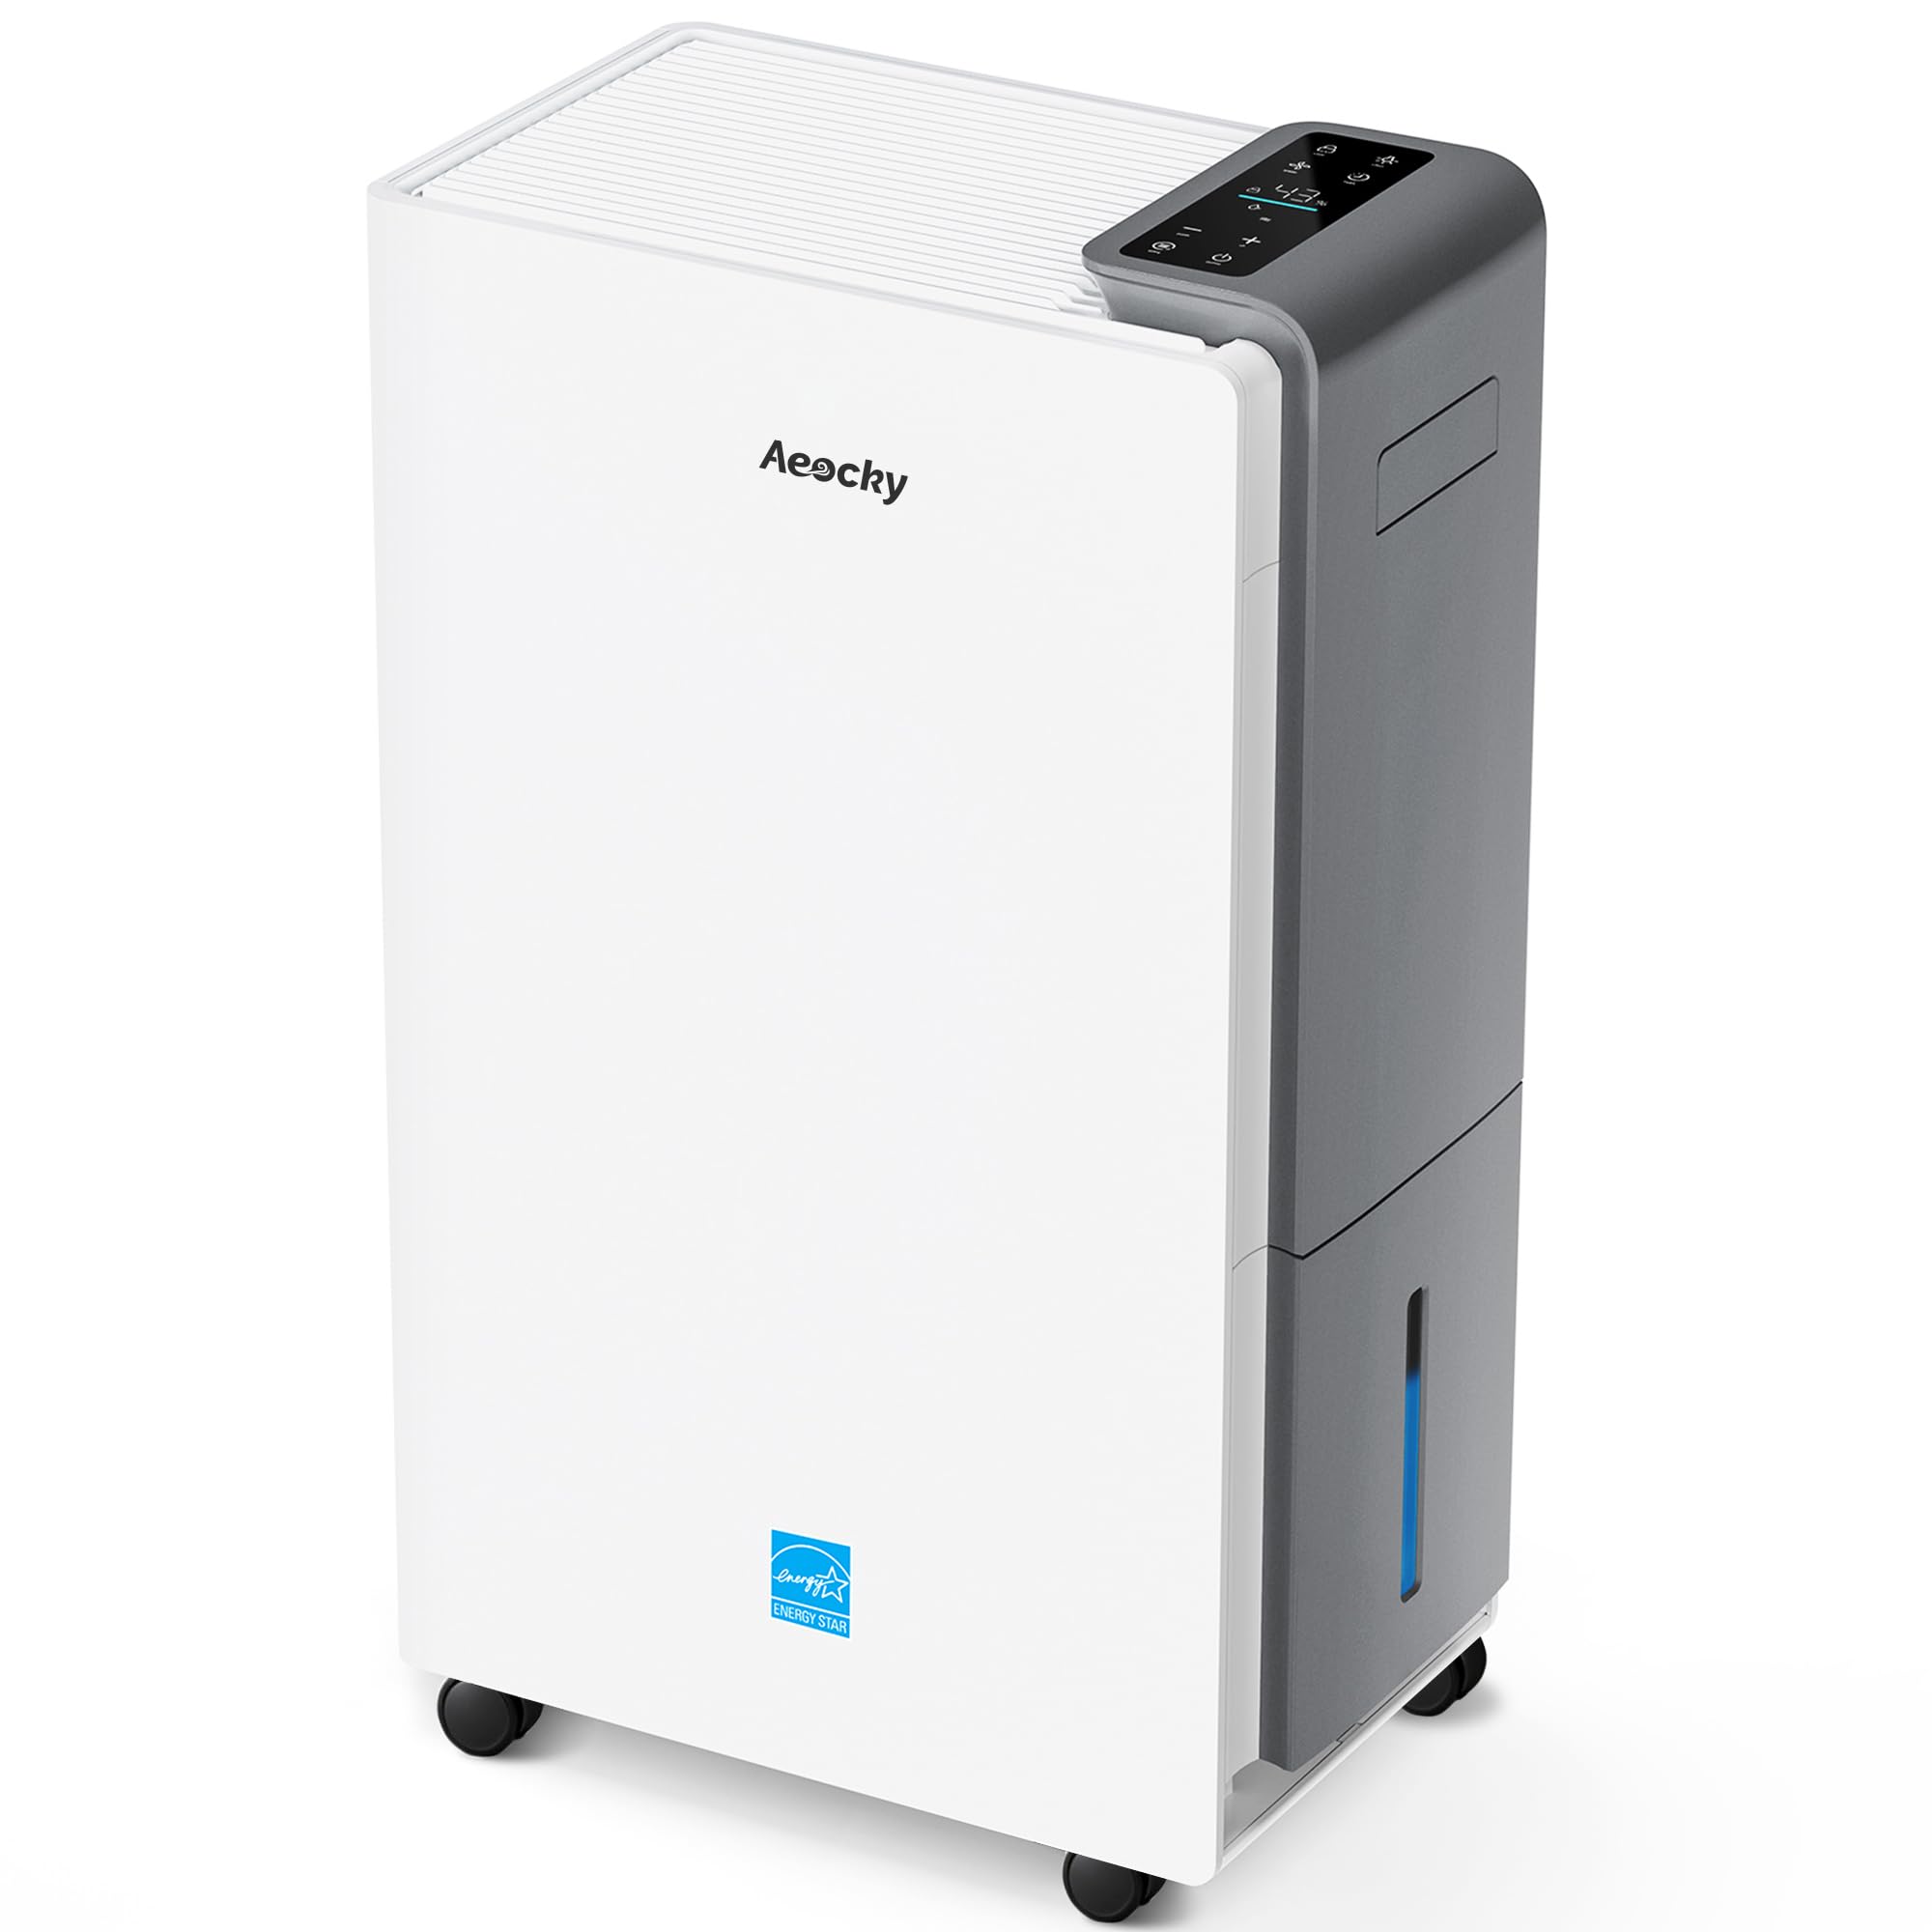
Equipment and reading for ceiling water damage
Whether you hire a crew in Burlington or handle part of it yourself, these are the tools the job actually needs and the background worth reading first.

Why Burlington Homes Face Ceiling Water Damage Risks
Local geography, climate, and housing stock all affect how water damage occurs in Burlington. These are the most common causes our certified teams respond to in this area.
- 1Lake Champlain, which borders Burlington to the west, set a record stage of 102.08 feet in May 2011 following Tropical Storm Irene's moisture combined with snowmelt; the flooding submerged the Waterfront District, closed Battery Park, and damaged dozens of lakeside structures.
- 2Englesby Brook drains the New North End and empties into Lake Champlain near the Ethan Allen Homestead; it overtops its earthen channel during moderate rain events and sends runoff into basements of homes along North Avenue and the surrounding Old North End grid.
- 3Potash Brook, which drains Burlington's South End and Chamberlin neighborhoods, has a documented history of flooding local streets near Shelburne Road during nor'easters and spring rain-on-snow events that exceed its culvert capacity.
- 4The Winooski River, immediately east of Burlington in the adjacent City of Winooski, reached catastrophic flood levels during Irene in 2011, and high-water backpressure still affects Burlington properties in the intervale lowlands along the river's lower reach.
- 5Burlington's clay-heavy Champlain Sea lakebed soils—deposited when the valley was flooded roughly 10,000 years ago—have very low permeability, meaning even moderate rainfall saturates the ground quickly and generates hydrostatic pressure against basement walls citywide.
Local Risk Notes
The Old North End neighborhood, particularly the blocks west of North Winooski Avenue near Englesby Brook's lower reach, is the most consistently flooded residential area in Burlington, with storm drain backup and basement seepage reported after nearly every significant rain event. The Waterfront District and Battery Park lakefront saw the most dramatic visible flooding during the 2011 Lake Champlain record high, and properties there are mapped in FEMA's Special Flood Hazard Area with mandatory flood insurance requirements.
VT Insurance Tip
Vermont enacted Act 47 after Irene to fund statewide flood resilience, but individual homeowners must still carry separate NFIP or private flood policies; note that Vermont's participating communities have adopted floodplain bylaws that impose higher regulatory standards, so properties with unpermitted fill or encroachments in the floodplain may face coverage exclusions at claim time.
Ceiling Water Damage in Burlington — FAQs
How fast can you get ceiling water damage help in Burlington?
What does ceiling water damage cost in Burlington?
I see a water stain on my ceiling but no active leak. Should I be worried?
Do I need to open my ceiling to dry it?
How much does ceiling water damage repair cost?
Why is the water stain on my ceiling in a different spot than where the actual leak is?
How do I know if a ceiling bubble (blister) is about to burst, and should I puncture it?
No-Obligation Estimate
Get a No-Obligation Ceiling Water Damage Estimate in Burlington
Serving Burlington, VT
Enter your info and a certified local pro will contact you within 1 hour.
24/7 Emergency Response
We connect you with pros available around the clock — nights, weekends, and holidays.
IICRC-Certified Pros
We only refer to restoration professionals certified under IICRC standards (S500, S520).
Licensed & Insured
All referred contractors carry full state licensing and liability insurance.
No-Obligation Consultation
Call anytime — triage help and contractor dispatch at no cost to you.

Sponsored
Stop Paying Out-of-Pocket for Home Repairs
Choice Home Warranty covers AC, heating, plumbing, appliances & more — so the next breakdown doesn't drain your savings.
- $50 Off your plan
- First month FREE
- No home inspection required
- 24/7 claims service
HearthDry is an independent resource and does not perform restoration work. All referred contractors are independently licensed and IICRC-certified.