
Quick answer
A crawl space vapor barrier stops soil moisture evaporating up into the house. Use 12–20 mil reinforced liner if anyone will ever crawl on it; 6-mil meets code but tears. Overlap seams 12 inches and tape every one, wrap the piers, and run the liner at least six inches up the foundation wall. DIY materials cost a few hundred dollars; professional installation runs $1,500–$4,000. Call (888) 840-6512 to reach a certified water damage restoration company in your area; the line is answered 24/7.
Written & reviewed by Marcus ReedIICRC WRT
Reviewed August 13, 2026· Next review Feb 2027
What the Barrier Actually Does
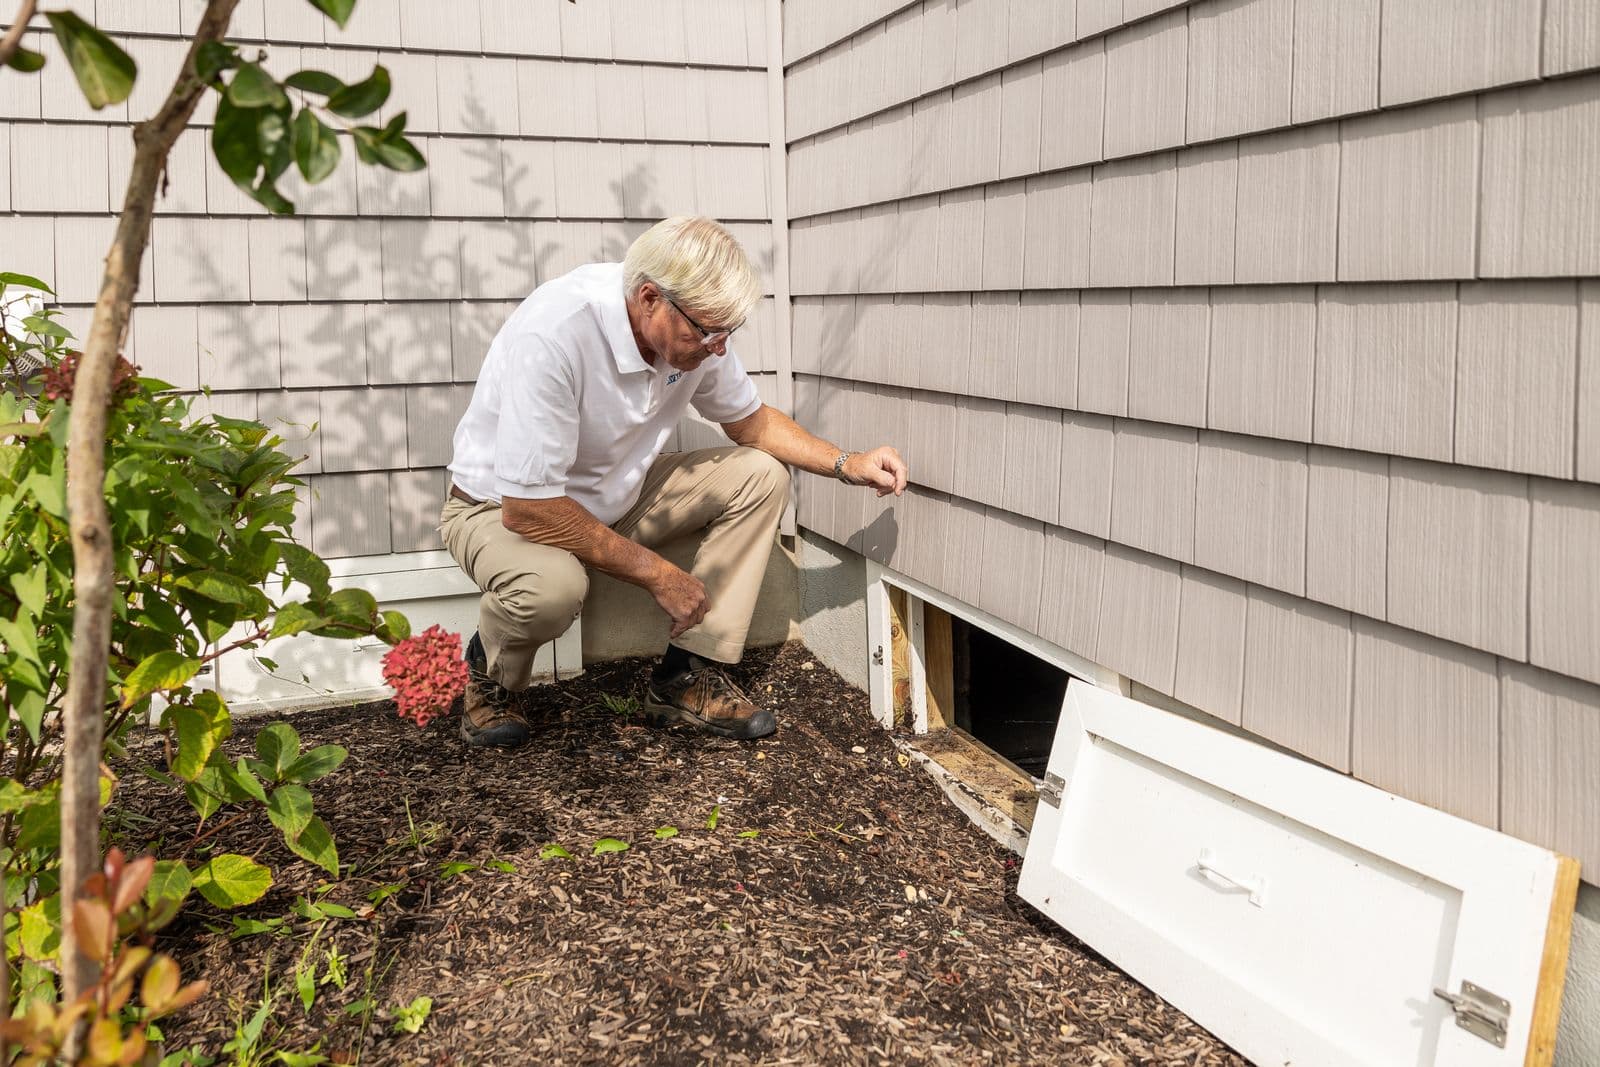
Bare soil under a house evaporates gallons of water into the crawl space air every day — that vapor condenses on cool joists, feeds mold, and drifts up into living space. A ground vapor barrier interrupts the cycle at the source. It's the least expensive per-square-foot moisture upgrade a house can get — a plastic sheet hiding a swamp only when it's installed badly over unsolved water problems.
Choosing the Liner: Mil Ratings Without the Marketing
| Thickness | Reality |
|---|---|
| 6-mil poly | Meets many codes; tears during install and every future crawl. Bare minimum. |
| 10–12 mil | The practical sweet spot for a moisture barrier you'll access occasionally |
| 20-mil reinforced | Encapsulation grade — survives knees, tools, decades |
Rule of thumb: if a human will ever crawl on it, buy 12-mil or heavier. The material cost difference is small against the labor of doing the job twice.
The Cost Picture
DIY materials — liner plus seam tape — run a few hundred dollars for most crawl spaces at $0.15–$0.50 per square foot. Professional ground-cover installation typically lands at $1,500–$4,000. Full encapsulation — sealed walls, taped seams, conditioned air, dehumidifier, sometimes drainage — is a different project at $5,000–$15,000, and our encapsulation cost guide breaks that down separately.
Installation: The Details Are the Barrier
The sequence that separates a moisture barrier from loose plastic: clear and level the ground; roll liner with 12-inch seam overlaps; tape every seam; cut and tape collars around each pier; run the liner at least 6 inches up the foundation wall and fasten it with termination strips, taping the top edge. Work from the far corner toward the access hatch, and leave no soil visible anywhere.
Two disqualifiers before you start: standing water and existing mold overhead. A barrier over either seals the problem in with your house on top of it — fix the water path and remediate first.
Talk to a water damage pro now
Answered 24/7 · Toll-free · answered 24/7 · no obligation
(888) 840-6512- Describe the damage & give your ZIP
- You're routed to the on-call local crew
- They quote — you decide, no obligation
The Air Half of the Equation
The ground is only half the moisture budget. In humid climates, vented crawl spaces pull in summer air that condenses on cool surfaces no matter what covers the soil. If the space can't hold under 55% relative humidity through summer, a dedicated crawl space dehumidifier finishes the job the liner started — that's the number that keeps joists mold-free year-round.
Step by Step
- 1Clear and grade. Remove debris, old plastic, fallen insulation and any organic material; rake the soil roughly level and break up ridges that would puncture the liner. Standing water and visible mold overhead stop the job until they are fixed.
- 2Measure and cut. Run the liner the long way of the space so seams are fewest. Cut pieces with a 12-inch overlap allowance and an extra 6–12 inches to run up each wall and around each pier.
- 3Lay from the far corner out, so you are never crawling on a taped seam before it sets.
- 4Overlap 12 inches and tape every seam with the manufacturer's seam tape, pressing it down on a clean, dry liner — dusty plastic does not hold tape. Double-sided butyl tape under the lap plus top tape is the durable version.
- 5Wrap every pier with a collar of liner taped to the floor sheet; cut an X over the pier, fold the flaps up, and tape a wrap around them.
- 6Run the liner up the walls 6–12 inches for a ground cover (to the sill minus a few inches for a full encapsulation) and fasten it with a termination bar or masonry fasteners with washers, then seal the top edge with tape or foam.
- 7Seal penetrations — plumbing, ducts, posts — with a collar and tape.
- 8Check it by crawling it: any seam that lifts, any pier collar that gaps, any wall edge that pulls away is a moisture path.
Common Mistakes
- Loose plastic laid flat with no seams taped — moisture rises through every gap; this is the "vapor barrier" most home inspectors find.
- Stopping at the wall — the wall of a crawl space is damp masonry; a ground cover that does not turn up the wall leaves the largest moisture surface uncovered.
- Covering the vents' airflow path without sealing them — a half-encapsulated space with open vents in a humid climate condenses on the liner.
- Sealing over wet soil or standing water — the water is still there, under the plastic, wicking into the piers.
- 6-mil for a space that will be entered — it tears the first time someone services the furnace.
- Fiberglass batts left in the joists in a humid space — they hold water against the subfloor; encapsulated spaces insulate the walls instead.
Codes and the Unvented Crawl Space
Model residential codes have long required a ground vapor retarder under a house in most climates, and they allow a crawl space to be built or converted unvented only when the ground is covered with a sealed Class I vapor retarder run up the walls and the space is either conditioned or mechanically dried. That is the code's description of encapsulation. Local amendments vary; a permit is rarely required for a ground cover alone and often is for sealing vents and adding a dehumidifier. What encapsulation fixes and what it costs cover the full version.
Pairing With a Dehumidifier
A liner stops the ground's contribution; it does nothing about humid outside air through open vents or the moisture the wood already holds. In humid climates, the pair that works is a sealed liner plus sealed vents plus a crawl space dehumidifier holding the space around 50% relative humidity, with a condensate line to a drain or a pump. A hygrometer hung from a joist tells you whether it is working; crawl space moisture and mold prevention covers the middle ground for spaces that do not warrant the full seal.
Reading to confirm what you already suspect?
Confirm it in two minutes instead — the pro on this line answers questions about YOUR situation all day: what it is, what it should cost, whether you even need service. If you want, they'll set the appointment on the same call.
Toll-free · no obligation · asking costs nothing
Frequently Asked Questions
How much does crawl space vapor barrier installation cost?
DIY materials run roughly $0.15–$0.50 per sq ft for 6–12 mil liner plus seam tape — a few hundred dollars for most crawl spaces.
Professional installation typically lands between $1,500 and $4,000 depending on size, prep, and liner grade; full encapsulation with sealed walls, dehumidifier, and drainage climbs to $5,000–$15,000. The labor difference is mostly prep and detailing — seams, piers, and terminations.
What mil thickness vapor barrier do I need for a crawl space?
6-mil poly meets many codes but tears easily during installation and crawling — it's the bare-minimum choice. 10–12 mil is the practical sweet spot for a moisture barrier you'll access occasionally. 20-mil reinforced liner is the encapsulation-grade choice that survives knees, tools, and time.
Rule of thumb: if anyone will ever crawl on it, go 12-mil or heavier.
Is a moisture barrier and a vapor barrier the same thing?
In crawl space context, yes — both terms mean the plastic ground cover that blocks soil moisture from evaporating into the air under your home.
'Vapor barrier' is the technical term (rated by perm rating), 'moisture barrier' the colloquial one. Full encapsulation goes further: sealed foundation walls, taped seams, conditioned air, and usually a dedicated dehumidifier.
Can I install a crawl space vapor barrier myself?
A ground-cover barrier is a realistic DIY weekend if the crawl space has workable clearance: clear debris, level obvious ridges, roll liner with 12-inch seam overlaps, tape every seam, wrap piers, and run the liner 6+ inches up the wall, fastened and taped.
What's not DIY-friendly: standing water, existing mold, wildlife, or sagging insulation — fix those causes first or the barrier just hides them.
Will a vapor barrier stop mold in my crawl space?
It removes the biggest moisture source — soil evaporation — which is usually what feeds joist and subfloor mold. But it can't dry what's already wet or control humid outside air entering through vents.
Existing growth needs remediation first, and humid climates usually need a crawl space dehumidifier to hold the space under 50–55% RH year-round.
Who do I call right now for water damage?
Call (888) 840-6512. The line is answered 24 hours a day, seven days a week, and connects you with an IICRC-certified water damage restoration company that serves your area. Describe what you can see — where the water is coming from, how long it has been there, and whether it smells — the more specific you are, the faster the right company is on the line.
If the source is a pipe or an appliance, shut the main water valve first. Have four things ready and the call goes quickly: the address, when the water started, what is wet now, and whether you have filed an insurance claim.
Need it handled now?
Crawl Space Encapsulation — 24/7 Certified Crews
Want the sealed-walls, conditioned-air version done to standard? That's an encapsulation crew's day job.
Sources
- EPA — Moisture Control(retrieved 2026-08-13)
- Energy.gov — Insulating a Crawl Space(retrieved 2026-08-13)
- IICRC S500(retrieved 2026-08-13)
Methodology: How we source and verify data · Report an error
Disclaimer: HearthDry is an independent educational resource. This article is for informational purposes only and does not constitute professional, legal, or insurance advice. Consult licensed professionals before making decisions about your property or insurance claims.
Professional Equipment
The Two Purchases That Decide the Project
Liner grade and humidity control make or break a crawl space job: 12–20 mil reinforced barrier underfoot, and in humid climates a dedicated dehumidifier holding the space under 55% RH.
Affiliate link — HearthDry earns a commission from Sylvane via CJ at no extra cost to you
Free 2-day shipping
Amazon Prime members pay no shipping on restoration equipment
Dehumidifiers, air movers, and moisture meters qualify for free Prime delivery — bulk items that otherwise cost $15–$40 to ship.
Affiliate link — HearthDry earns a bounty if you sign up; costs you nothing extra.
Equipment
What each machine actually does
Removes the moisture the structure is still giving off — the machine that decides how long drying takes
See the picks →Moves air across wet surfaces so the dehumidifier has something to take out of the air
See the picks →Finds water behind walls and under floors, and tells you when a material is actually dry
See the picks →Alerts you the moment a leak starts — the cheapest thing on this list and the only preventive one
See the picks →Those pages carry affiliate links. As an Amazon Associate, HearthDry earns from qualifying purchases; it costs you nothing extra.
Our Amazon storefront →Advertisement
