
Quick answer
Water leaking from a ceiling light fixture is an electrical emergency first: kill the circuit at the breaker panel (never the wall switch), keep hands off the fixture, then stop the source above — a bathroom during use, the roof during rain, or a supply pipe if constant. Call an electrician to clear the circuit and the source trade to fix the leak; saturated drywall around a junction box typically must be cut out and the cavity dried to a verified standard. Call (888) 840-6512 to reach a certified water damage restoration company in your area; the line is answered 24/7.
Written & reviewed by Marcus ReedIICRC WRT
Reviewed August 19, 2026· Next review Feb 2027
Water From a Light Fixture: The Order of Operations
Seven hundred people a month search this exact crisis, and most of them are standing under the drip while they type. So the sequence first, explanation after: breaker off, hands off, bucket down, source found. Electricity and water are already sharing a junction box above your head — everything else in this guide waits until the power is dead.
Step 1: The Breaker, Not the Switch
The wall switch is wired into the same wet circuit — flipping it can arc, and touching it barefoot on a wet floor is exactly the scenario electricians get paid to prevent. Go to the panel, kill the breaker for that room, and if the panel's labels are fiction (most are), kill the main. A $15 non-contact voltage tester confirms the fixture is dead; without one, treat it as live anyway.
Two signs mean evacuate the room and call from elsewhere: any buzzing, sizzling, or breaker that re-trips immediately, or scorch smell around the fixture. That circuit is telling you it's actively faulting.
Step 2: Contain Without Contact
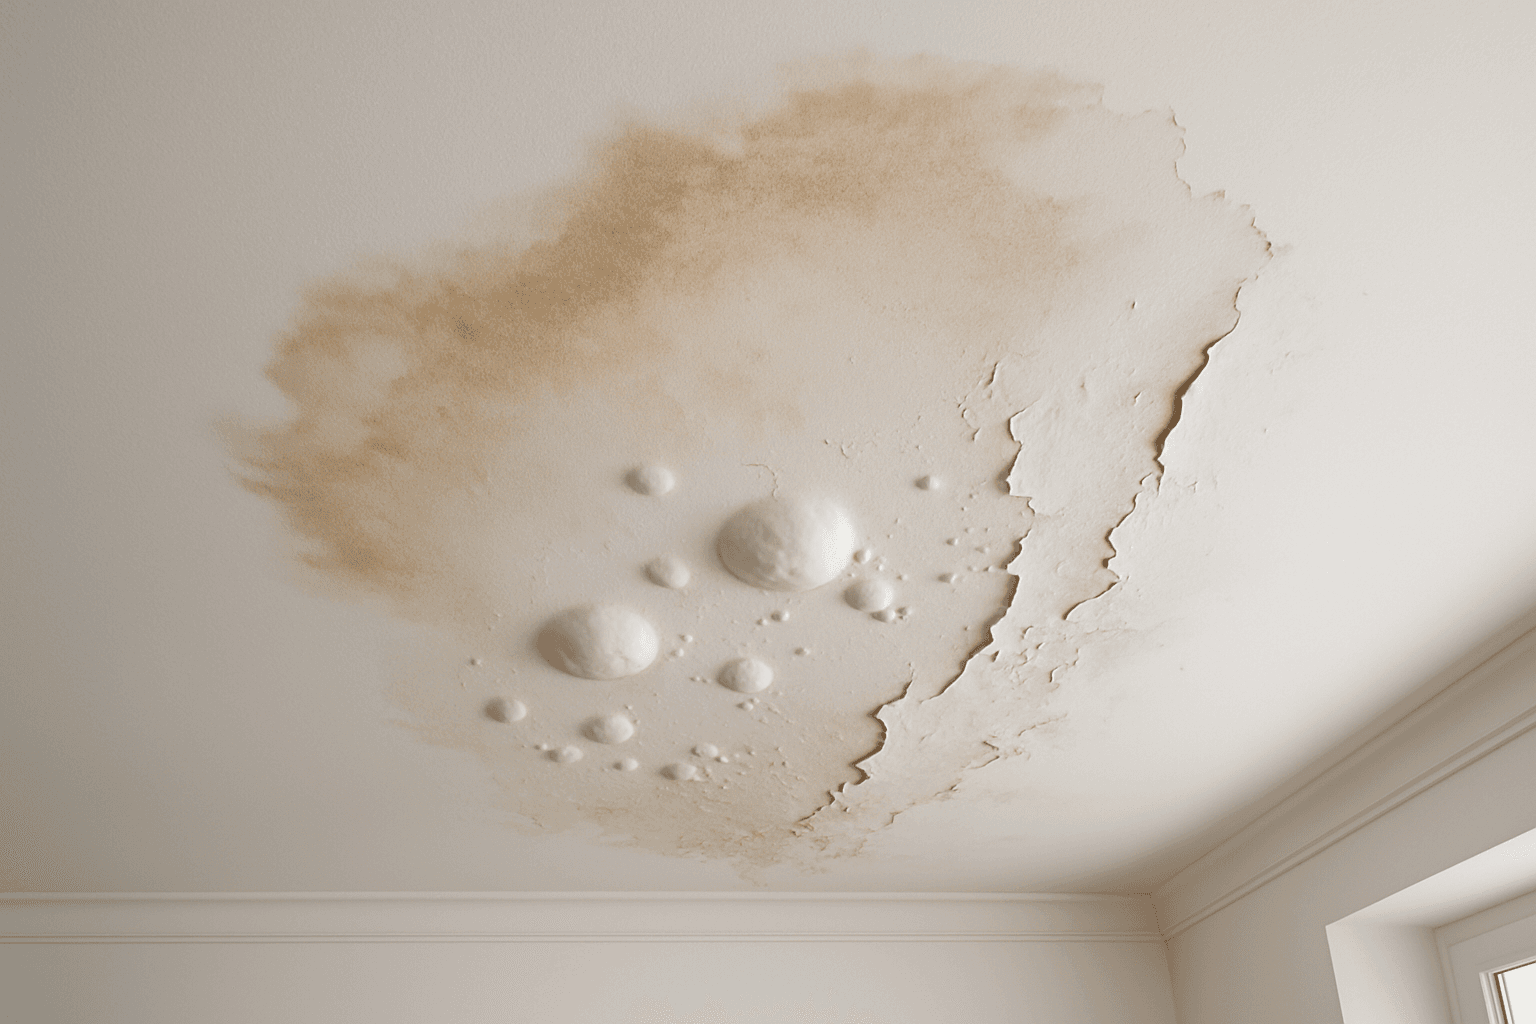
Bucket under the drip. If the ceiling around the fixture is bulging, it is holding pooled water — relieve it on your terms: small screwdriver hole at the bulge's low point, *away from the fixture*, bucket underneath. A controlled pencil-stream now beats twenty pounds of drywall and water letting go over the fixture later.
Talk to a water damage pro now
Answered 24/7 · Toll-free · answered 24/7 · no obligation
(888) 840-6512Mold can establish within 24–48 hours of water exposure — drying started today stays a drying job.
- Describe the damage & give your ZIP
- You're routed to the on-call local crew
- They quote — you decide, no obligation
Step 3: Read the Timing to Find the Source
Light fixtures are ceiling low points; water finds them from anywhere above. The leak's timing is the diagnostic:
| Leak happens... | Source | Your move |
|---|---|---|
| During/after showers or flushes | Bathroom above — wax ring, tub drain, supply | Stop using that bathroom |
| During rain | Roof, tracking along joists | Tarp/wait; roofer call |
| Constantly | Pressurized supply pipe | Shut the house main NOW |
| After AC runs hard | Condensate line above | Kill AC, clear the line |
Bathroom-above is the most common — we cover that full scenario in bathroom leaking through the ceiling, and roof intrusion in the roof leak ceiling guide.
Step 4: Two Calls, In Order
- 1Electrical clearance. An electrician confirms the circuit, the junction box, and the fixture. Soaked fixture wiring needs inspection even when it "works fine" dried out — corrosion failures arrive weeks later, and insurance adjusters notice missing electrical documentation.
- 2The source trade. Plumber for bathroom and supply leaks, roofer for storm water.
If the ceiling is sagging, multiple rooms are involved, or you'd rather make one call than three: a water damage restoration company coordinates the electrician, the plumber, the drying, and the insurance paperwork as a single scope. Who to call for water damage breaks down when the one-call route is worth it.
Step 5: The Drywall Decision
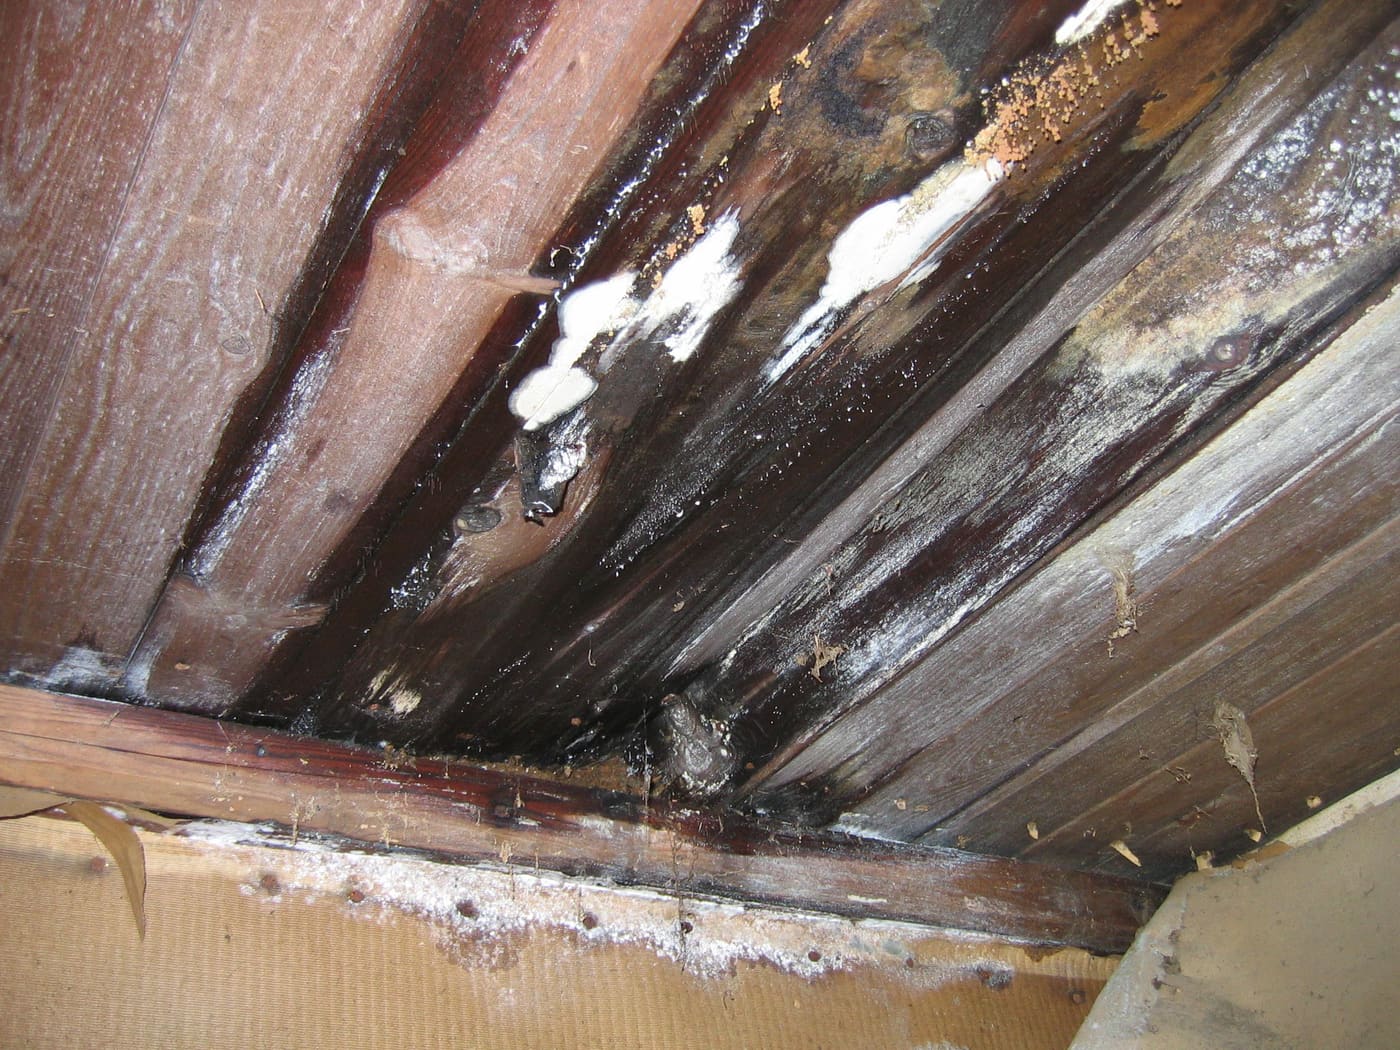
Here's the part people get wrong after the drama passes: drywall around an electrical box that took real water usually comes out. A closed ceiling cavity doesn't air-dry reliably; drywall that meters above baseline stays damp inside, and mold establishes in that dark cavity within 24–48 hours — right next to your wiring. The correct fix is cut, dry the cavity to verified numbers (framing under 16% MC), then patch. Expect $500–$2,500 depending on spread; sudden leaks are commonly insurance-covered, and your photos from today decide that claim — shoot everything before any cleanup.

Bottom Line
Breaker first, bucket second, timing tells you the source, two calls in order, and dry the cavity to a number before anyone patches paint over it. Water through a light fixture is the household leak with the shortest safe-delay window — the sequence above is fifteen minutes, and it's all of them that matter.
Reading to confirm what you already suspect?
Confirm it in two minutes instead — the pro on this line answers questions about YOUR situation all day: what it is, what it should cost, whether you even need service. If you want, they'll set the appointment on the same call.
Toll-free · no obligation · asking costs nothing
Frequently Asked Questions
Is water leaking from a light fixture dangerous?
YesIt is one of the few household leaks that can injure you before it damages anything.
Water pooling in a junction box can energize the fixture, the switch, and the wet drywall around it, and can start a fire after the water dries. Cut power at the breaker (not the wall switch) before touching anything, and treat the fixture as live until confirmed dead.
What should I do first when water drips from a ceiling light?
In order: kill the circuit at the breaker panel (the whole circuit, or the main if unsure which), don't touch the switch, place a bucket, then find the water source above — bathroom, roof, or pipe. Only after power is off and the source is stopped should anyone touch the fixture or the ceiling around it.
Where is the water coming from?
Light fixtures sit at ceiling low points, so water travels to them from anywhere above: a bathroom directly overhead (most common — toilet wax ring, tub drain, supply line), a roof leak tracking along joists during rain, or a pipe in the ceiling cavity.
Timing is the clue: leak during showers points to the bathroom; during rain, the roof; constant, a supply pipe.
Who do I call for water coming through a ceiling light?
Two calls, in order: an electrician (or your restoration company's electrician) to confirm the circuit and fixture are safe, and the trade that owns the source — plumber for a bathroom or supply leak, roofer for storm intrusion.
If the ceiling is sagging or the drywall is saturated, a water damage restoration company coordinates all of it — extraction, drying, and the trades — in one call.
Will the ceiling need to be replaced?
Saturated drywall around an electrical fixture usually needs cutting out — wet drywall above 1% moisture content by meter doesn't reliably dry in a closed ceiling cavity, and hidden moisture there grows mold within days.
A restoration company will cut, dry the cavity to a verified standard, and patch; expect $500–$2,500 depending on spread, often insurance-covered when the cause is sudden.
Who do I call right now for water damage?
Call (888) 840-6512. The line is answered 24 hours a day, seven days a week, and connects you with an IICRC-certified water damage restoration company that serves your area. Describe what you can see — where the water is coming from, how long it has been there, and whether it smells — the more specific you are, the faster the right company is on the line.
If the source is a pipe or an appliance, shut the main water valve first. Have four things ready and the call goes quickly: the address, when the water started, what is wet now, and whether you have filed an insurance claim.
Still not sure which of these is your situation? (888) 840-6512 · toll-free · answered 24/7
Sources
- ESFI — Electrical Safety Foundation International
- IICRC S500 Standard for Professional Water Damage Restoration
Methodology: How we source and verify data · Report an error
Disclaimer: HearthDry is an independent educational resource. This article is for informational purposes only and does not constitute professional, legal, or insurance advice. Consult licensed professionals before making decisions about your property or insurance claims.
Watch
Source: 1 Tom Plumber — YouTube
Free 2-day shipping
Amazon Prime members pay no shipping on restoration equipment
Dehumidifiers, air movers, and moisture meters qualify for free Prime delivery — bulk items that otherwise cost $15–$40 to ship.
Affiliate link — HearthDry earns a bounty if you sign up; costs you nothing extra.
Equipment
What each machine actually does
Removes the moisture the structure is still giving off — the machine that decides how long drying takes
See the picks →Moves air across wet surfaces so the dehumidifier has something to take out of the air
See the picks →Finds water behind walls and under floors, and tells you when a material is actually dry
See the picks →Alerts you the moment a leak starts — the cheapest thing on this list and the only preventive one
See the picks →Those pages carry affiliate links. As an Amazon Associate, HearthDry earns from qualifying purchases; it costs you nothing extra.
Our Amazon storefront →Advertisement
