
Ceiling Water Damage in Daytona Beach, FL
Ceiling leak detection, drying, and restoration. IICRC-certified pros serving Daytona Beach with 42-minute average emergency response.
Response
42 min
Cost range
$800+
Duration
3d
About Ceiling Water Damage in Daytona Beach
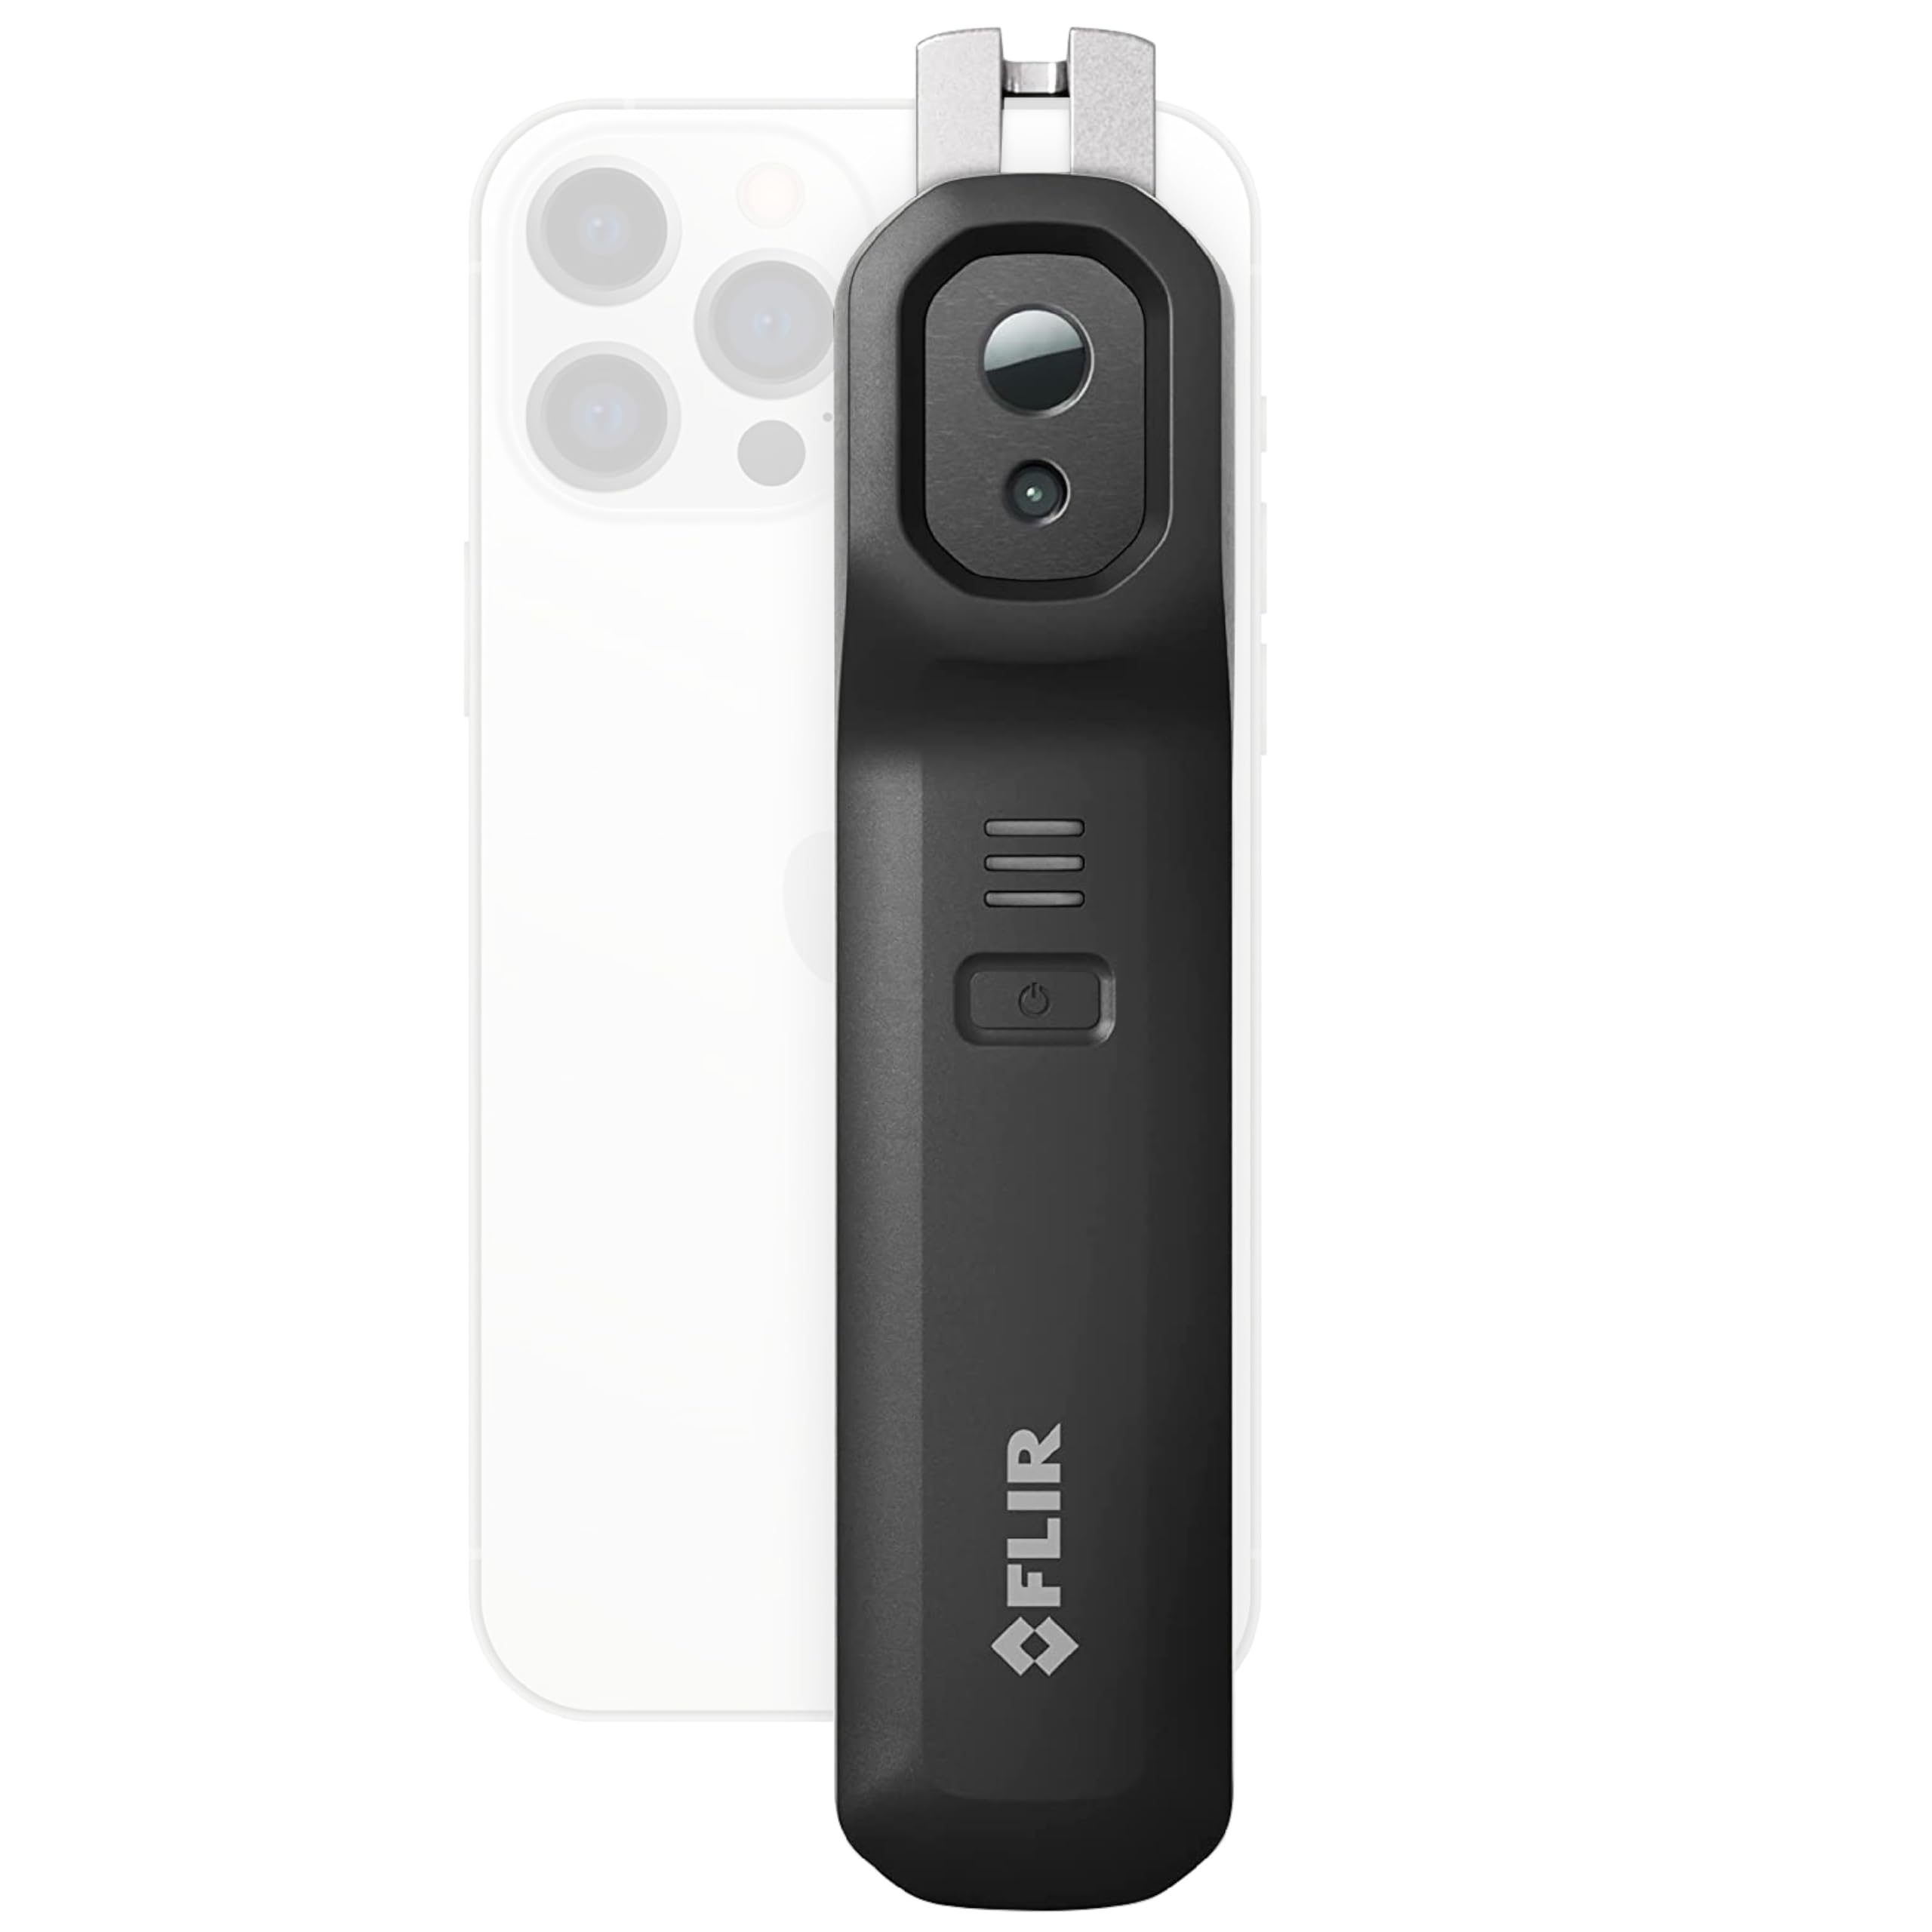
Ceiling water damage from roof leaks, bathroom overflow, or upstairs pipe failures requires leak source identification, ceiling cavity drying, and restoration. Restoration teams use thermal imaging to find hidden moisture pockets and prevent secondary mold growth above the visible damage.
Daytona Beach context: Daytona Beach, Florida's subtropical climate produces the highest water damage claim frequency of any state — averaging 1 in 35 insured homes per year. Summer thunderstorm season (June–September) delivers 55–60 inches of annual rainfall concentrated in afternoon convective storms. AC condensate overflow is the #1 claim type statewide — Florida law (SB 2A, 2023) significantly changed contractor Assignment of Benefits rules. Hurricane deductibles in Florida are separate from standard deductibles and typically run 2–5% of insured value — check your declarations page. Mold grows in Florida within 24–48 hours in any moisture event due to year-round warmth and high humidity.
Get Daytona Beach Ceiling Water Damage Help
Certified specialist calls within 15 minutes.
Quick answer
Ceiling water damage repair starts by finding the source above — plumbing, roof, or HVAC condensation — then drying the cavity and insulation before replacing the drywall. Typical cost is $800–$5,000 over about three days. A sagging or bulging ceiling is holding water and should be relieved with a small hole and a bucket rather than left to collapse. In Daytona Beach, FL, local crews average a 42-minute response and area rates run $1,725–$9,775.
Not sure who to phone first? Who to call for water damage, in order.
What Ceiling Water Damage Involves
What causes it
- Roof leaks (missing shingles, damaged flashing)
- Bathroom overflow from upstairs unit
- Burst pipe above ceiling
- AC drip pan overflow
- Skylight seal failure
How the work is done
- 1Place buckets and protect flooring immediately. Set buckets under any dripping or bulging areas. If you see a visible ceiling blister, carefully puncture its lowest point to drain it in a controlled manner — a heavy ceiling bubble can drop 10–20 gallons without warning. Lay towels or plastic sheeting around the area to protect flooring and furniture from secondary water contact.
- 2Identify the most likely source from upstairs or the roof. Go upstairs (or into the attic) with a flashlight to look for the most probable leak sources above the stain location. If the ceiling is under a bathroom: check toilet base, shower pan, and supply lines. If under an HVAC unit or air handler: check the condensate drain pan and drain line. If under the roof: enter the attic and trace wet materials back toward the roof penetrations (plumbing vents, chimney, HVAC stacks). Water travels diagonally along rafters, so the entry point is rarely directly above the stain.
- 3Shut off the source if it is plumbing-related. If the leak originates from a toilet, supply line, or fixture above the ceiling, shut off that fixture's supply valve (under the sink, behind the toilet) or turn off the main supply if you cannot isolate it. If the source is roof-related or HVAC-related and cannot be stopped immediately, limit the active drip damage with your bucket collection while you arrange professional repair.
- 4Document all damage for insurance before touching the ceiling. Photograph the ceiling stain, any blisters, the floor below, and all damaged personal property. Then photograph upstairs to document the probable source. If you made a controlled puncture in a blister, photograph it before and after — this shows what you found and demonstrates that you took protective action. This photo record is your insurance documentation; do not patch or paint over staining before the adjuster sees it.
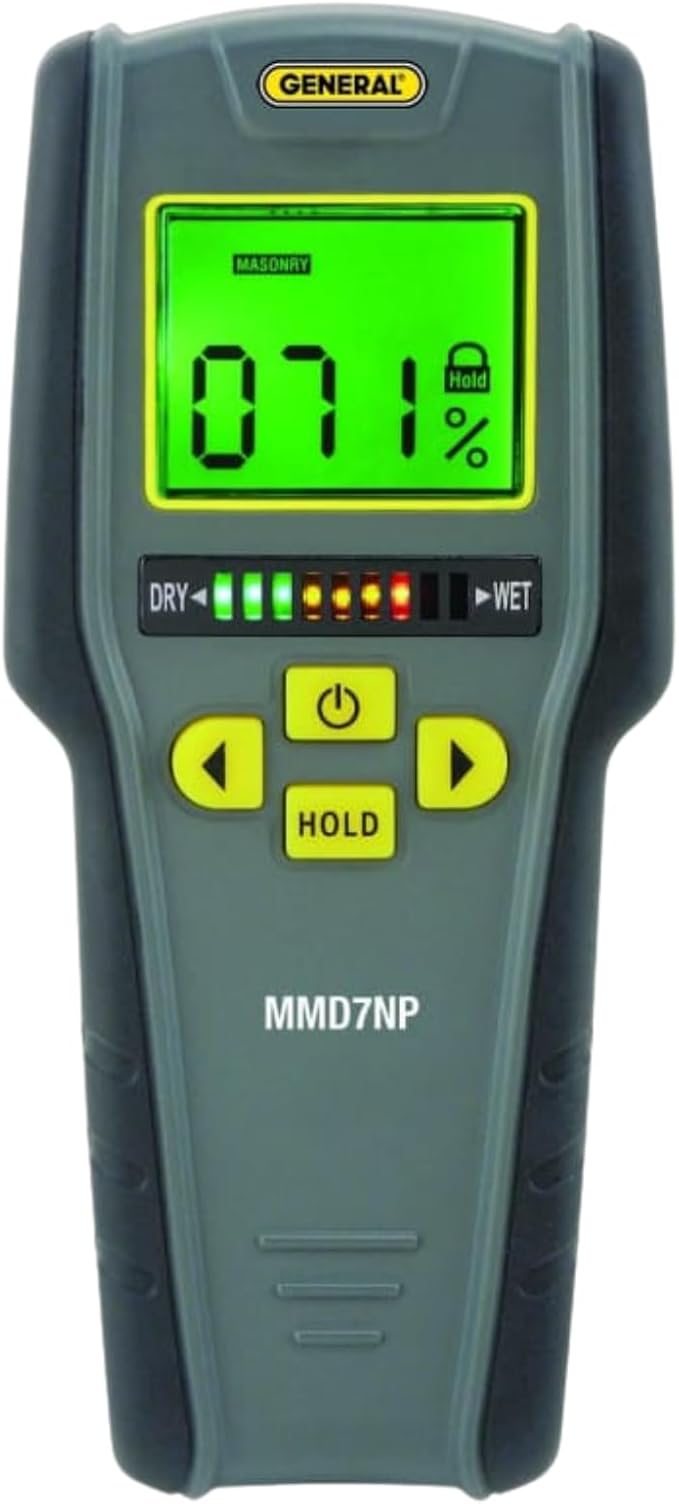
- 5Call a restoration company for moisture assessment within 24 hours. Even after the visible dripping stops, moisture trapped in the ceiling assembly (insulation, drywall paper, top plate wood) will support mold growth if not measured and dried. A certified restoration technician uses pin-type moisture meters and thermal cameras to assess the extent of hidden moisture and determine whether drill-and-inject drying, ceiling tile replacement, or drywall removal is required. Most insurers require this professional moisture documentation to process a ceiling water damage claim.
Work follows IICRC S500. Typical duration 3 days; national cost range $800–$5,000.
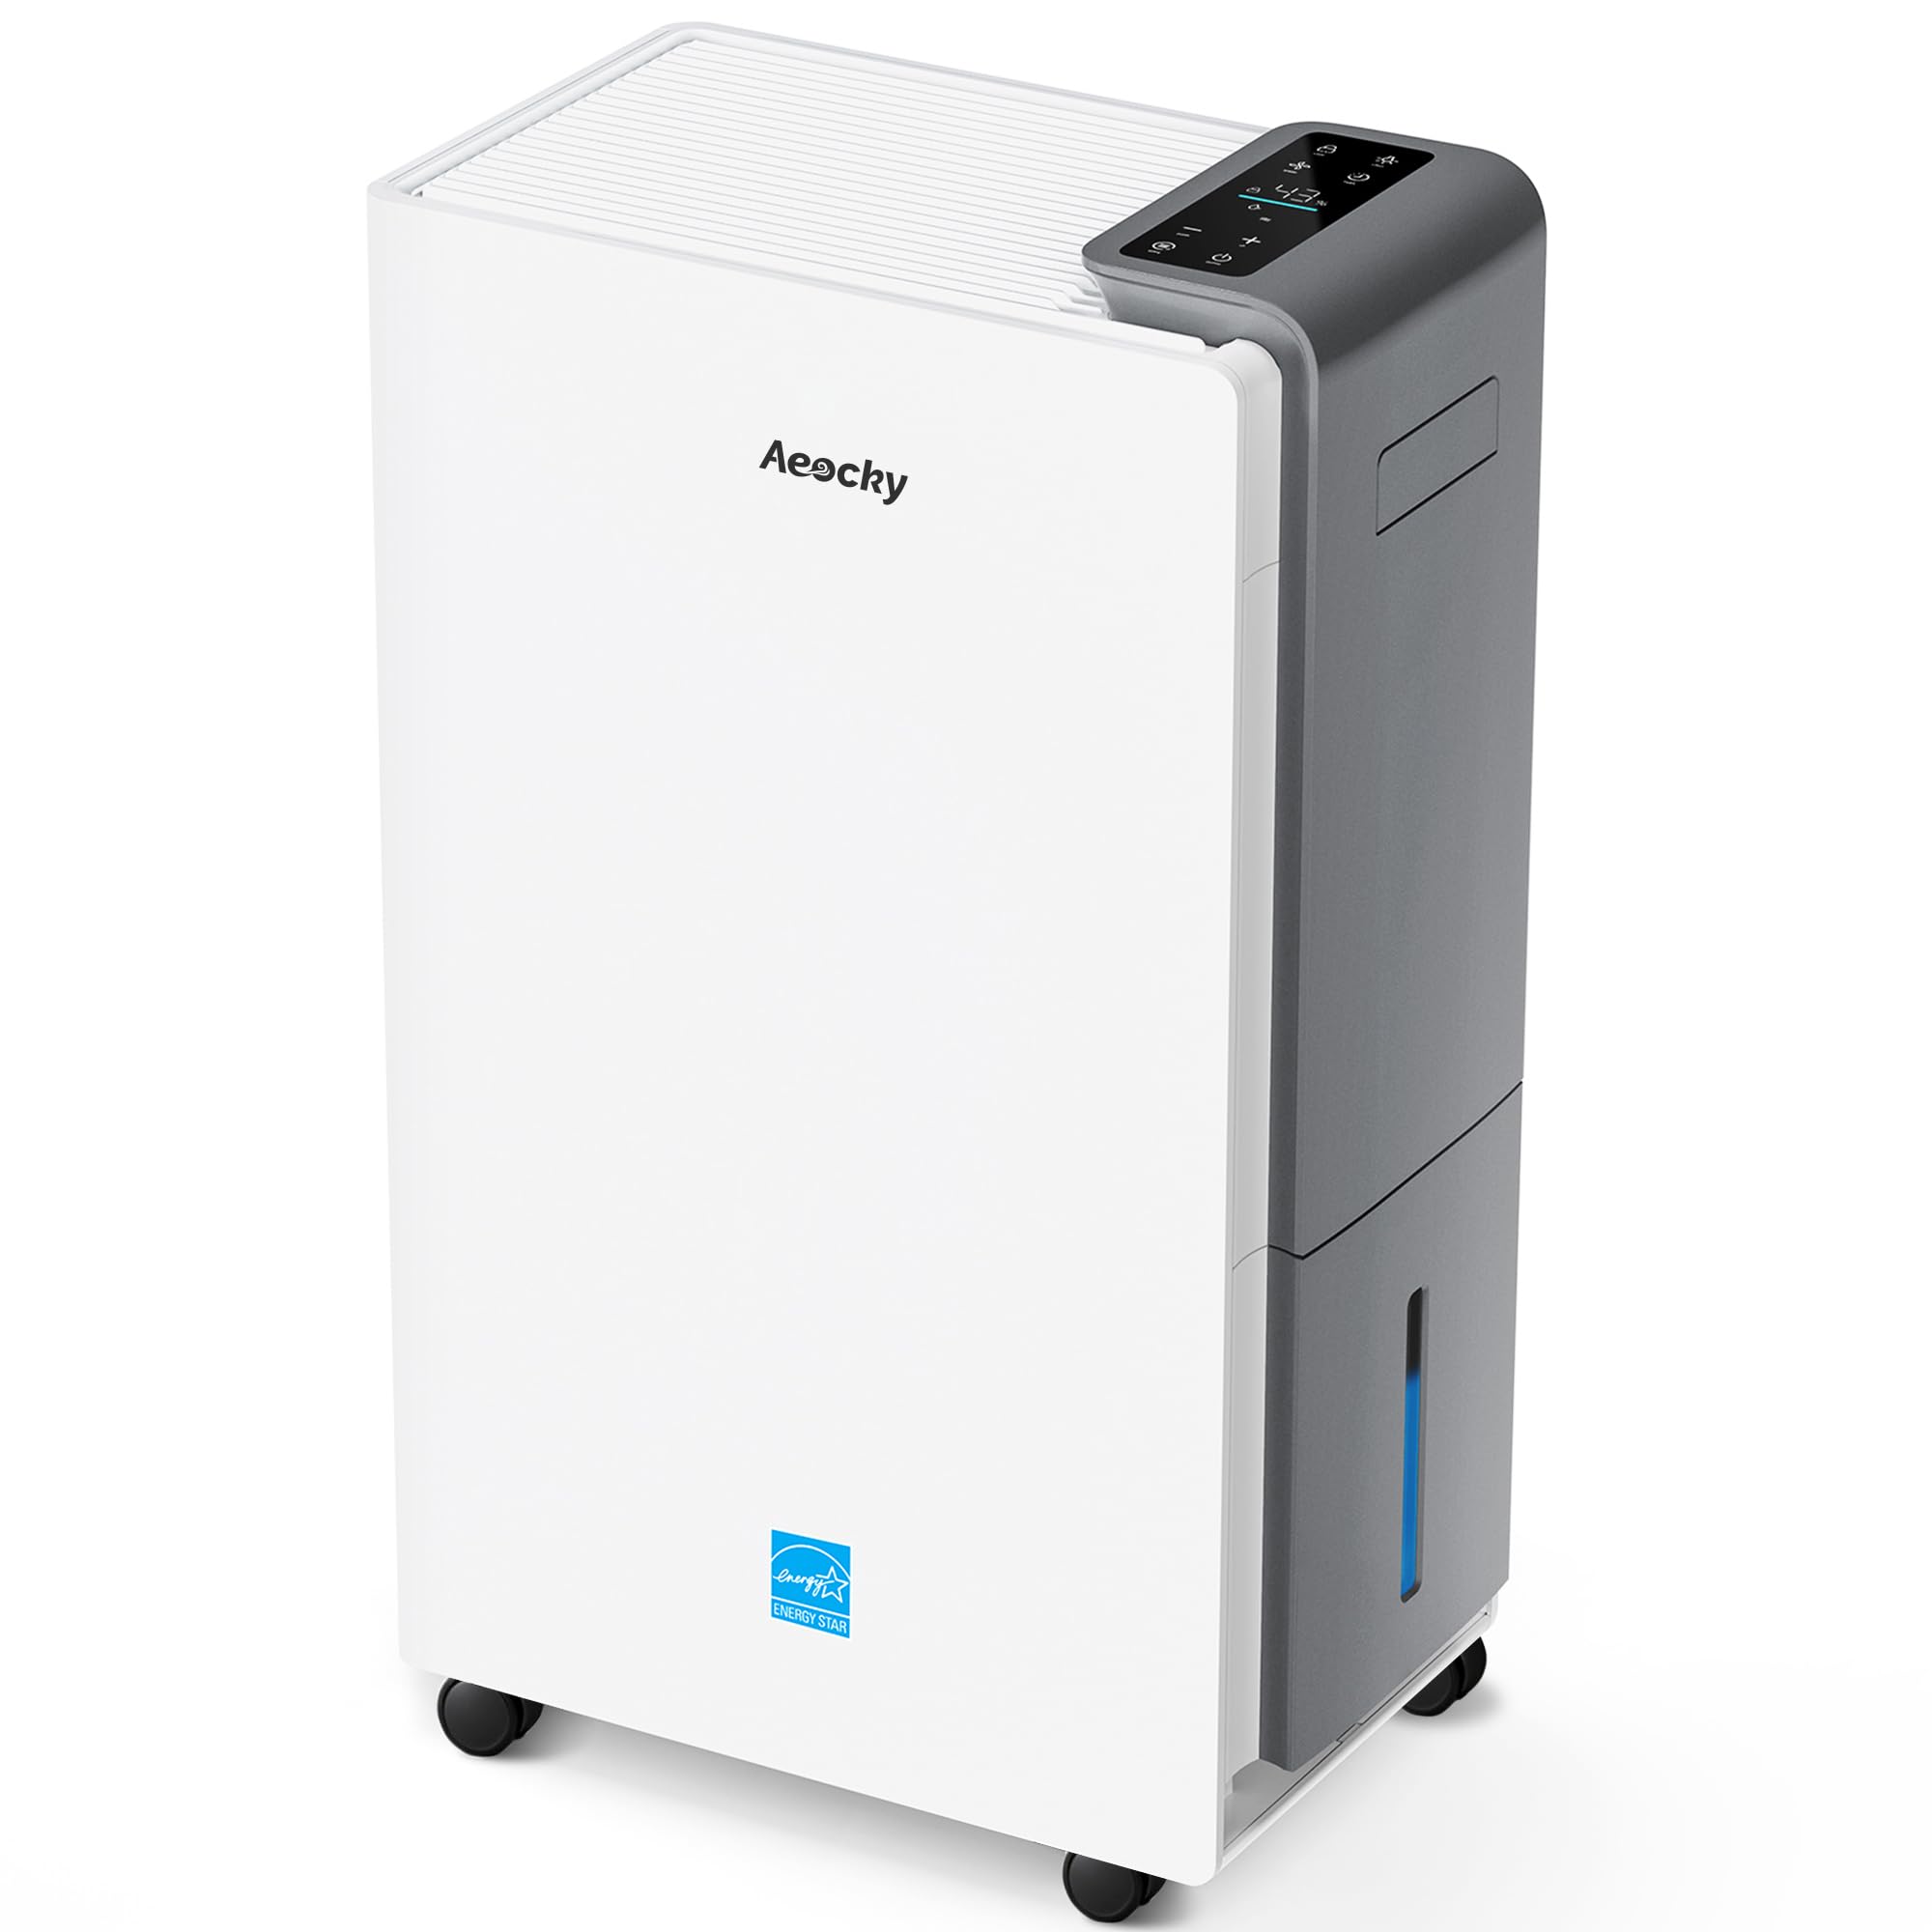
Equipment and reading for ceiling water damage
Whether you hire a crew in Daytona Beach or handle part of it yourself, these are the tools the job actually needs and the background worth reading first.
Why Daytona Beach Homes Face Ceiling Water Damage Risks
Local geography, climate, and housing stock all affect how water damage occurs in Daytona Beach. These are the most common causes our certified teams respond to in this area.
- 1Halifax River tidal surge and backflooding: The Halifax River (Intracoastal Waterway) flanks Daytona Beach to the west and funnels Atlantic tropical storm surge through the Main Street and International Speedway Boulevard bridge corridors, flooding downtown blocks and riverside neighborhoods.
- 2Tomoka River overflow: The Tomoka River in northern Volusia County swells during tropical rainfall and backs into the ICWW system, raising Halifax River levels and flooding low-lying properties in Holly Hill and North Daytona Beach.
- 3Spruce Creek flash flooding: Spruce Creek and its tributaries in Port Orange and South Daytona overtop culverts during intense convective thunderstorms, flooding homes in the Spruce Creek Fly-In community and surrounding subdivisions along Clyde Morris Boulevard.
- 4Barrier island ocean-to-river surge: Daytona Beach's narrow barrier island between the Atlantic and the Halifax River provides virtually no elevation buffer against hurricane storm surge, which regularly overtops the beach and sheets westward through residential streets toward the river.
- 5Undersized mid-century stormwater infrastructure: The core residential areas of Daytona Beach, built rapidly in the 1940s through 1960s, contain stormwater pipes and open drainage ditches that cannot handle modern 100-year storm rainfall, causing recurrent street flooding in Midtown and along Derbyshire Road.
Local Risk Notes
Midtown Daytona Beach and the beachside properties between the Atlantic Ocean and the Halifax River are among the city's most chronically flooded zones, with the narrow barrier island providing almost no elevation buffer against surge from either the ocean or the river. The Derbyshire Road corridor and the neighborhoods around Jimmy Ann Drive in the city's central residential area experience recurrent flooding from the undersized stormwater infrastructure built during the post-WWII population boom.
FL Insurance Tip
Request a flood zone determination letter before purchasing any Daytona Beach property, as portions of the barrier island are mapped as both AE and VE zones — a VE designation means lenders will mandate NFIP coverage and premiums will be substantially higher than for AE-zone properties just blocks away.
Ceiling Water Damage in Daytona Beach — FAQs
How fast can you get ceiling water damage help in Daytona Beach?
What does ceiling water damage cost in Daytona Beach?
I see a water stain on my ceiling but no active leak. Should I be worried?
Do I need to open my ceiling to dry it?
How much does ceiling water damage repair cost?
Why is the water stain on my ceiling in a different spot than where the actual leak is?
How do I know if a ceiling bubble (blister) is about to burst, and should I puncture it?
No-Obligation Estimate
Get a No-Obligation Ceiling Water Damage Estimate in Daytona Beach
Serving Daytona Beach, FL
Enter your info and a certified local pro will contact you within 1 hour.
24/7 Emergency Response
We connect you with pros available around the clock — nights, weekends, and holidays.
IICRC-Certified Pros
We only refer to restoration professionals certified under IICRC standards (S500, S520).
Licensed & Insured
All referred contractors carry full state licensing and liability insurance.
No-Obligation Consultation
Call anytime — triage help and contractor dispatch at no cost to you.

Sponsored
Stop Paying Out-of-Pocket for Home Repairs
Choice Home Warranty covers AC, heating, plumbing, appliances & more — so the next breakdown doesn't drain your savings.
- $50 Off your plan
- First month FREE
- No home inspection required
- 24/7 claims service
Hiring for ceiling water damage in Daytona Beach? Verify the license first.
Browse our directory of state-licensed mold companies in Daytona Beach — license numbers, contact info, and expiration dates from official records.
HearthDry is an independent resource and does not perform restoration work. All referred contractors are independently licensed and IICRC-certified.