Quick answer
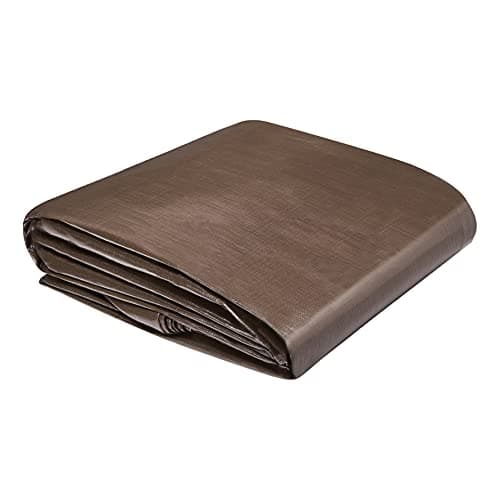
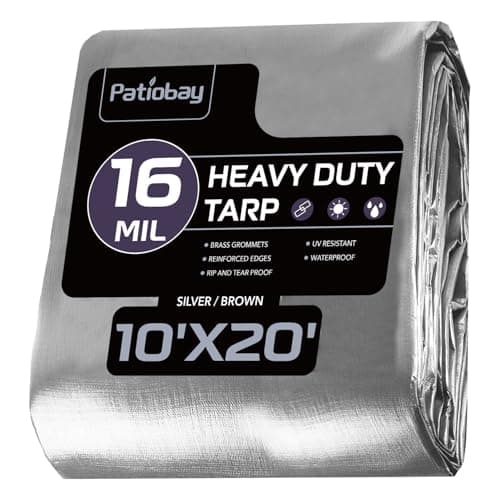
The best roof tarp for most emergency leaks is the Patiobay 16 Mil Heavy Duty Tarp (10 x 20 ft, Silver): if the damage is a few feet wide on one slope, buy a polyethylene tarp of 10 mil or more, long enough to run from 3 ft below the damage over the ridge. It is rated 4.6 stars across 1,832 Amazon ratings and states UV resistance. For damage wider than about 4 ft, choose the Amazon Basics 10 Mil Poly Tarp (20 x 20 ft). Board the tarp down along its rolled edges, and do not climb a roof that is wet, icy, steep or in high wind.
Buyer's Guide
What to know before you buy.
Who Should Not Tarp Their Own Roof
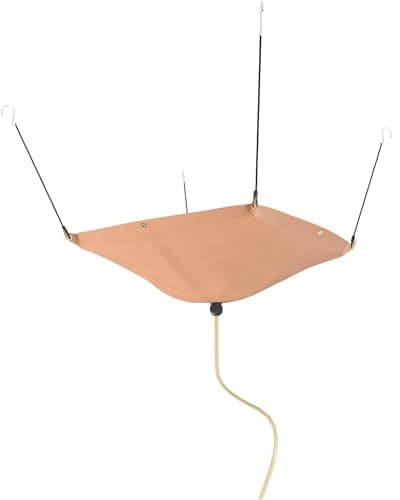
Tarping is roof work in the worst conditions, usually right after a storm, and a large sheet of plastic turns every gust into a pull toward the edge. Do not go up if the roof is wet, icy, frosted or mossy, if the pitch is too steep to walk comfortably, if the wind is still blowing, or if the damage is above the second story. Do not go up alone, and keep the ladder and the tarp well away from overhead power lines, including any the storm brought down. If any of that describes your house, a roof tarp is not the product to buy for yourself. Call a roofer or a restoration company, many of which tarp roofs as an emergency service, and manage the water from inside with buckets or a leak diverter like the BERPET kit until the roof is covered.
How Big a Tarp: The Sizing Arithmetic
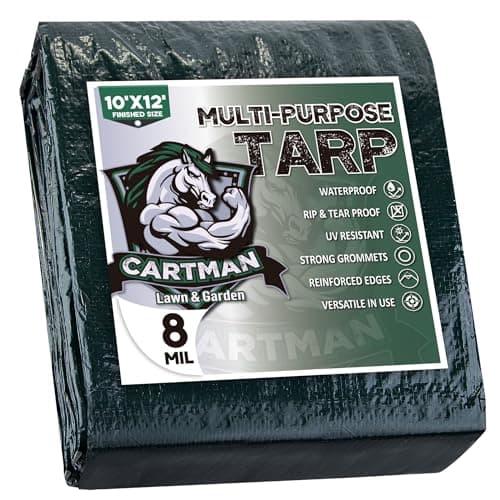
Measure the damage before you shop, from the attic if you can see daylight or wet decking, or from the ground with binoculars. Then add margins. Across the slope, allow about 3 ft on each side of the damage. Up the slope, allow about 3 ft below it, the full distance from the damage to the ridge, and roughly 4 ft more so the top edge runs over the ridge and down the far side, which is how tarping guides commonly keep rain flowing over the sheet instead of under it. Add about a foot at each end for rolling around a board. A patch 4 ft wide and 3 ft high whose top sits 8 ft below the ridge works out to 10 ft across and 20 ft up the slope (3 + 3 + 8 + 4 + 2): a 10 x 20 ft tarp. Hems can make a cut size a few inches smaller; Patiobay and CARTMAN state finished sizes.
Thickness, Material and UV Treatment
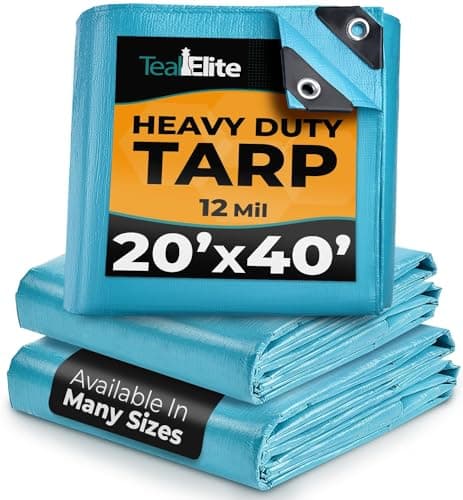
Tarp thickness is quoted in mil, thousandths of an inch. Thin, light-duty tarps of about 5 to 6 mil are the ones most likely to tear at the fasteners in wind; the roof tarps picked here run from 8 to 16 mil, per their listings. Read those figures as each maker's own claim, because none of the four roof tarps on this page gives a weight per square yard to check them against. Material comes next. Patiobay, Amazon Basics and CARTMAN state polyethylene or poly, the usual emergency tarp; Teal Elite does not name a material. Vinyl tarps are heavier and built for years of use, which a stopgap cover does not need. Finally, look for a stated UV treatment if the tarp may stay up for more than a few days. Patiobay and Teal Elite state UV resistance; the Amazon Basics and CARTMAN listings do not.
Fastening: Boards Along the Edges, Not Nails Through the Sheet
Grommets are tie points, not the main hold on a roof. Each one takes the pull of the wind at a single small spot, which is where tarps rip, so the general method is to spread that load with lumber. Roll the top edge of the tarp around a 2x4 on the far side of the ridge and screw the board down through the rolled sheet. Pull the tarp taut down the slope, then board the bottom edge and both sides the same way, driving screws through the boards rather than nails through the open field of the tarp. Closer grommets still help, since they give more places to anchor a corner or tie off while you work: the Teal Elite lists 18 in spacing, the Patiobay 23.6 in, and the Amazon Basics and CARTMAN 36 in. Every screw leaves a hole in a shingle for the roofer to deal with, a fair trade against water in the house.
Insurance, Photos and When to Use Sealant Instead
Many homeowners policies expect you to take reasonable steps to prevent further damage once you know about a leak, and the cost of those emergency measures is often considered as part of a covered claim. That is general guidance, not a promise: coverage depends on your policy and on what caused the damage, so call your insurer early. Photograph the roof, the attic and the ceiling before the tarp goes on, then photograph the installed tarp, and keep the receipts for the tarp, boards and screws. A tarp is also not the only temporary fix. If the leak is at a seam, along flashing or around a vent boot rather than a hole or missing shingles, a spray, a cartridge sealant or patch tape is quicker and safer to apply; those are compared on our roof leak sealant page.
Dry the Attic and Ceiling Below Within 24 to 48 Hours
Covering the roof stops new water, but the water already inside keeps working. EPA advises that wet materials dried within 24 to 48 hours of a leak will, in most cases, not grow mold, and attic insulation and ceiling drywall are both slow to dry on their own. Once the tarp is on, go into the attic with a flashlight: pull back soaked or matted insulation, open the space to air and set a fan on any wet decking. Below, run fans and a dehumidifier in the room under the leak, and if the ceiling sags, drain it at its lowest point into a bucket before it gives way. Check the drywall with a moisture meter instead of judging by touch, and replace insulation that stayed wet. A stain that keeps spreading after the tarp is on means water is still getting past it.
Free 2-day shipping
Amazon Prime members pay no shipping on restoration equipment
Dehumidifiers, air movers, and moisture meters qualify for free Prime delivery — bulk items that otherwise cost $15–$40 to ship.
Affiliate link — HearthDry earns a bounty if you sign up; costs you nothing extra.